Langtang Trek with Tserko Ri: A Practical Guide with Photography Tips
Introduction
The Langtang Valley is often overlooked compared to Everest Base Camp or Annapurna, but it offers something quieter, more grounded, and easier to access from Kathmandu.
No flights. Fewer crowds. A steady transition from forest trails to high alpine landscapes.
I did the Langtang trek with a hike up Tserko Ri as part of my preparation for upcoming climbs, but it quickly became more than just acclimatisation. It’s a trek where you notice the details, people, from Sherpa and Tamang communities to others along the route.
This guide is based on my experience, with a focus on both practical information and photography.
Contents:
Quick Overview
Who is this trek for?
First Himalayan trek → strong option
Acclimatisation before climbing → ideal
Photographers → excellent
People wanting fewer crowds → very good
Duration: 7 days
Start / End: Syabrubesi
Max altitude: ~5,000m (Tserko Ri)
Trek type: Tea house
Access: Jeep from Kathmandu (no flight required)
-
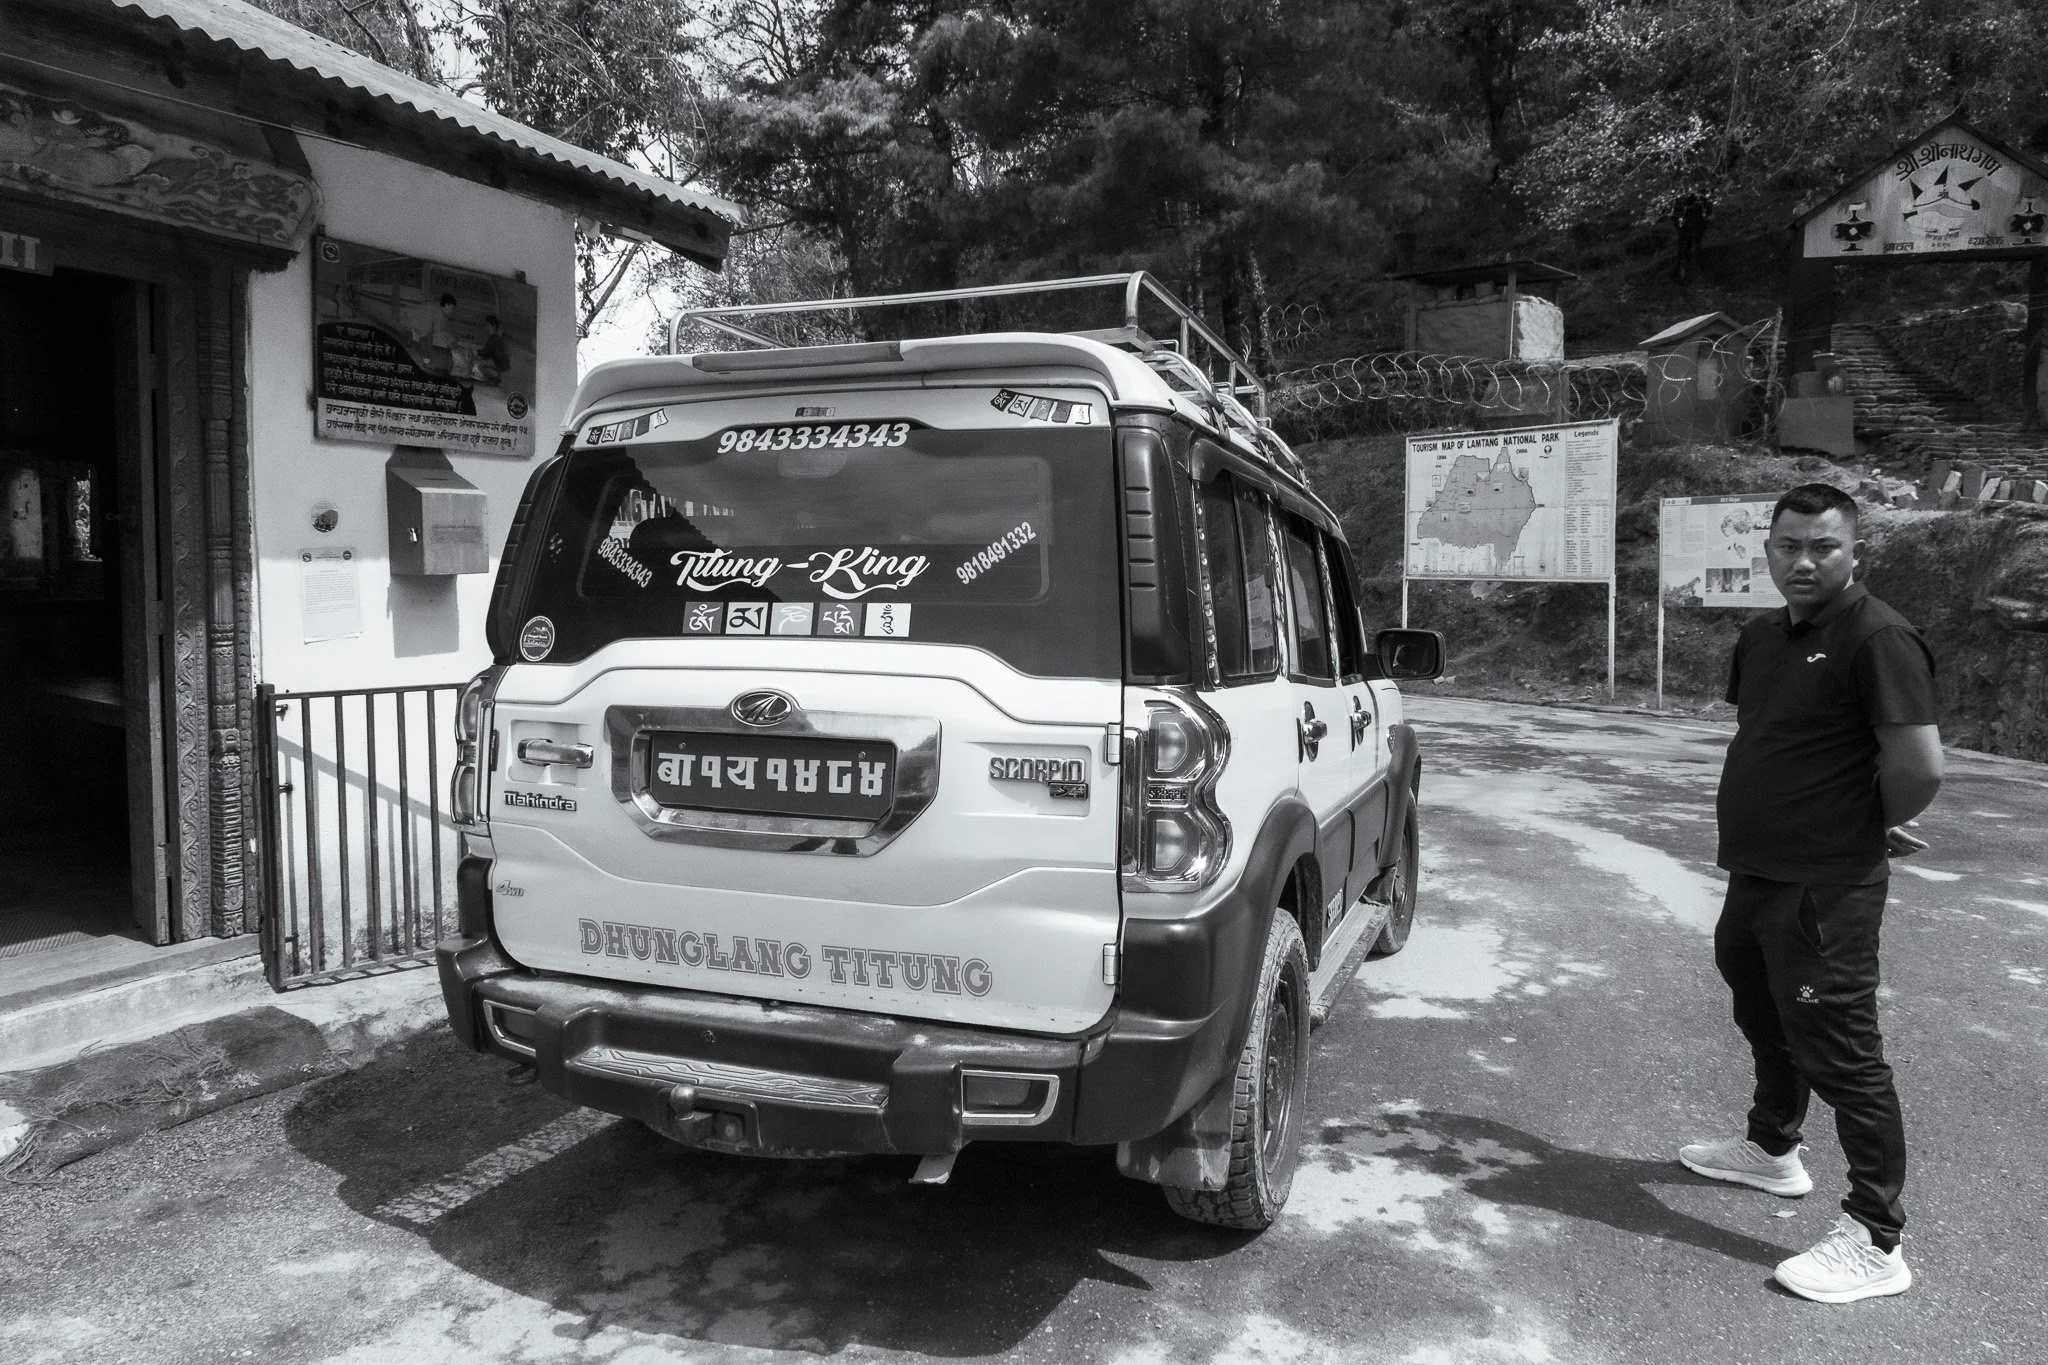
Day 1: Kathmandu → Syabrubesi
Day 2: Syabrubesi → Sherpagaun
Day 3: Sherpagaun → Langtang Village
Day 4: Langtang Village → Kyanjin Gompa
Day 5: Kyanjin Gompa → Tserko Ri → Kyanjin
Day 6: Kyanjin → Lama Hotel
Day 7: Lama Hotel → Syabrubesi
Day 8: Return to Kathmandu
Day-by-Day Breakdown
Day 1: Kathmandu to Syabrubesi
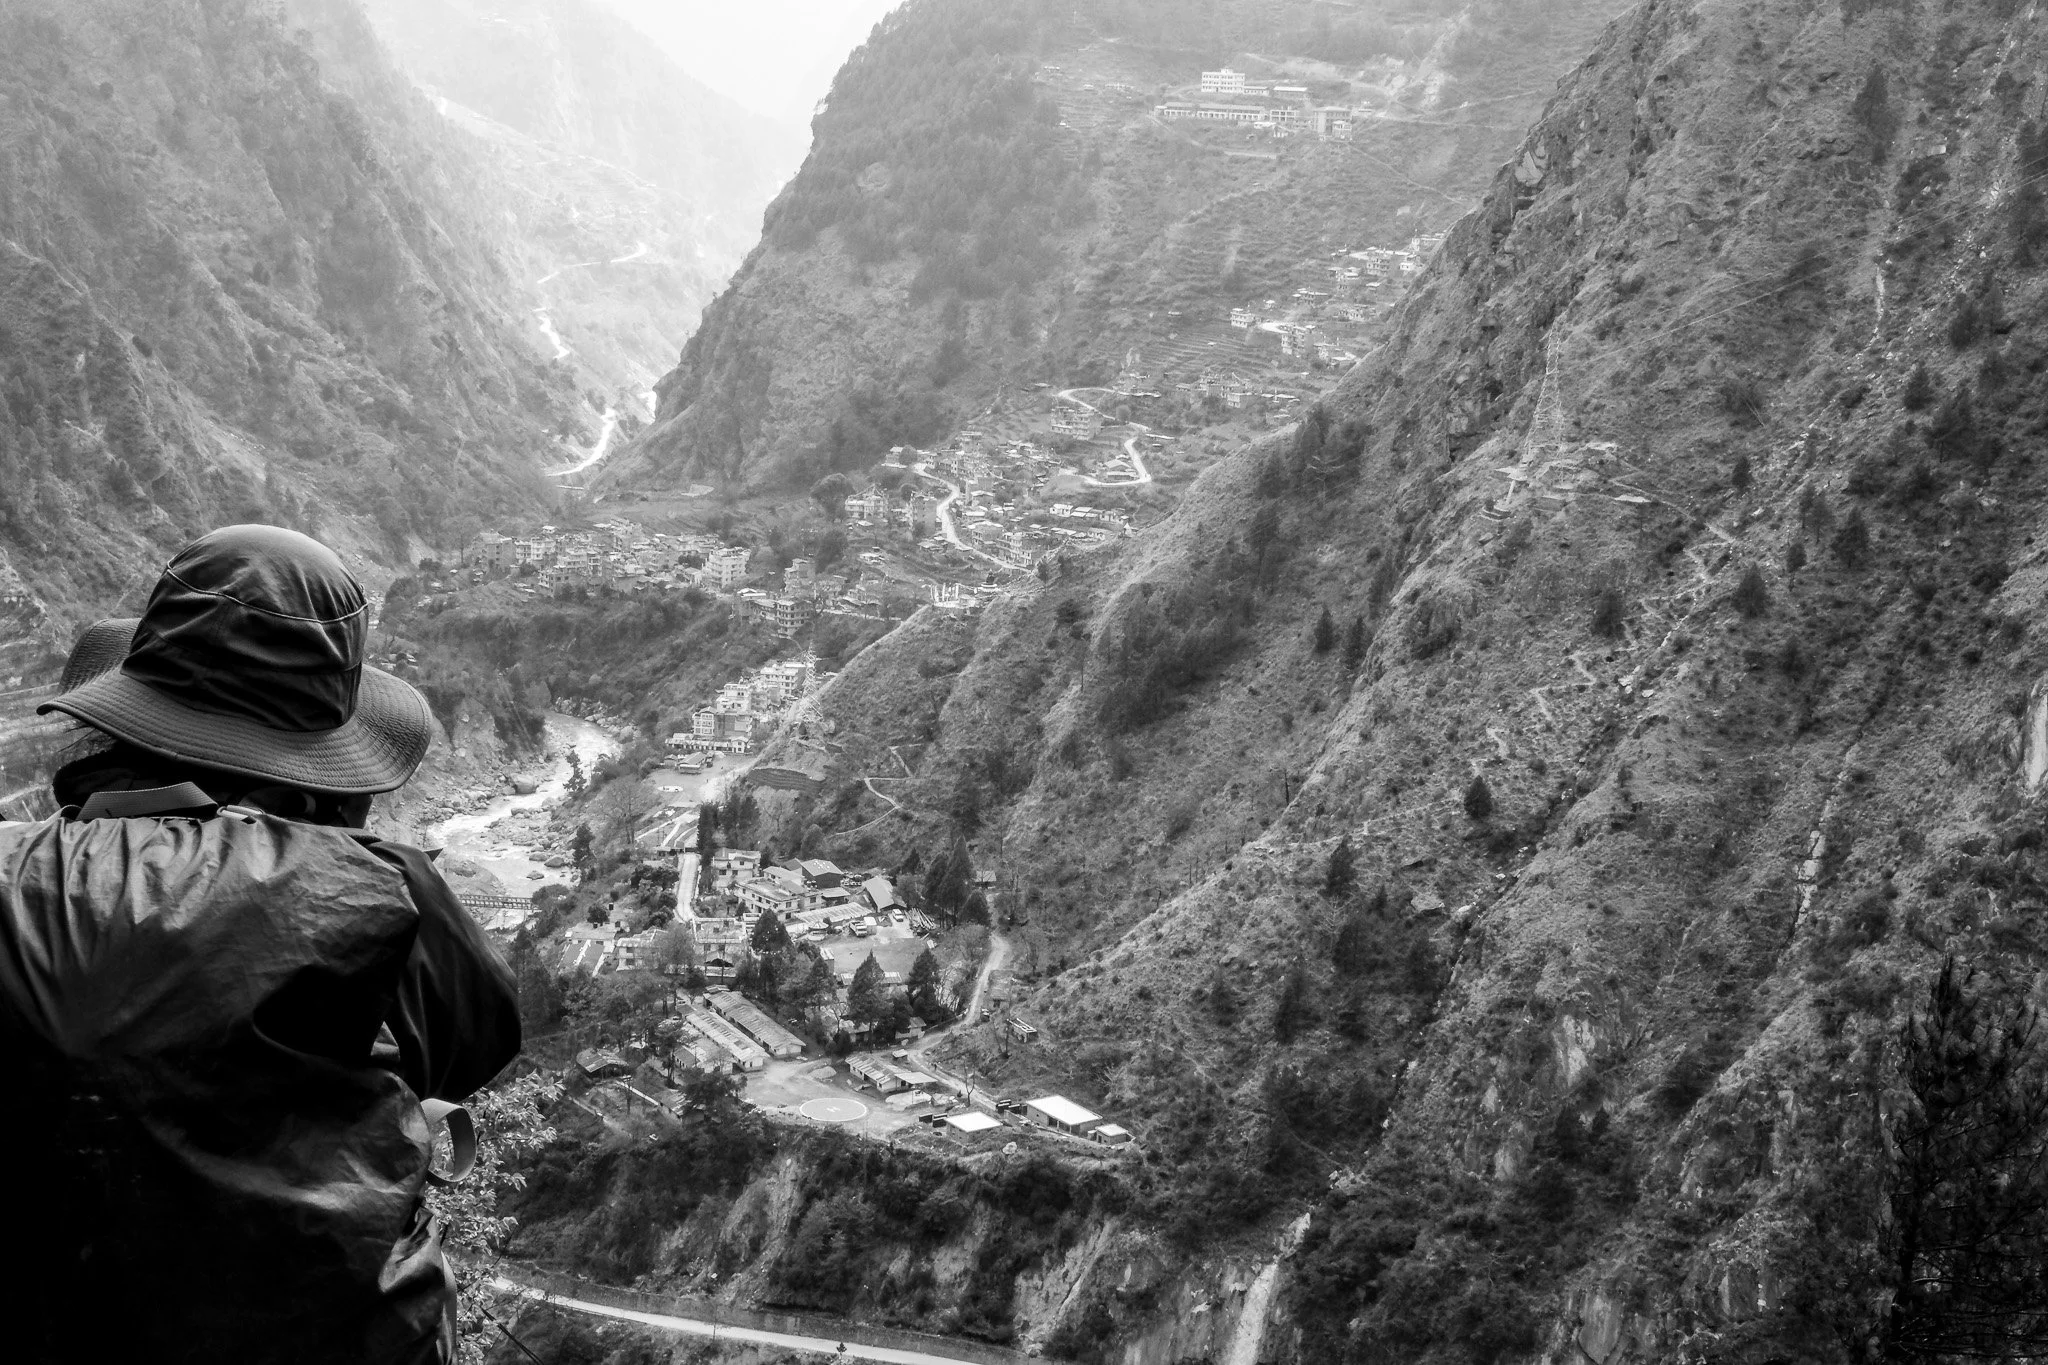
The journey starts with a long jeep ride out of Kathmandu.
The road is rough and slow, but the first views of the mountains begin to appear in the distance. It’s a gradual transition from city to countryside to something much more remote.
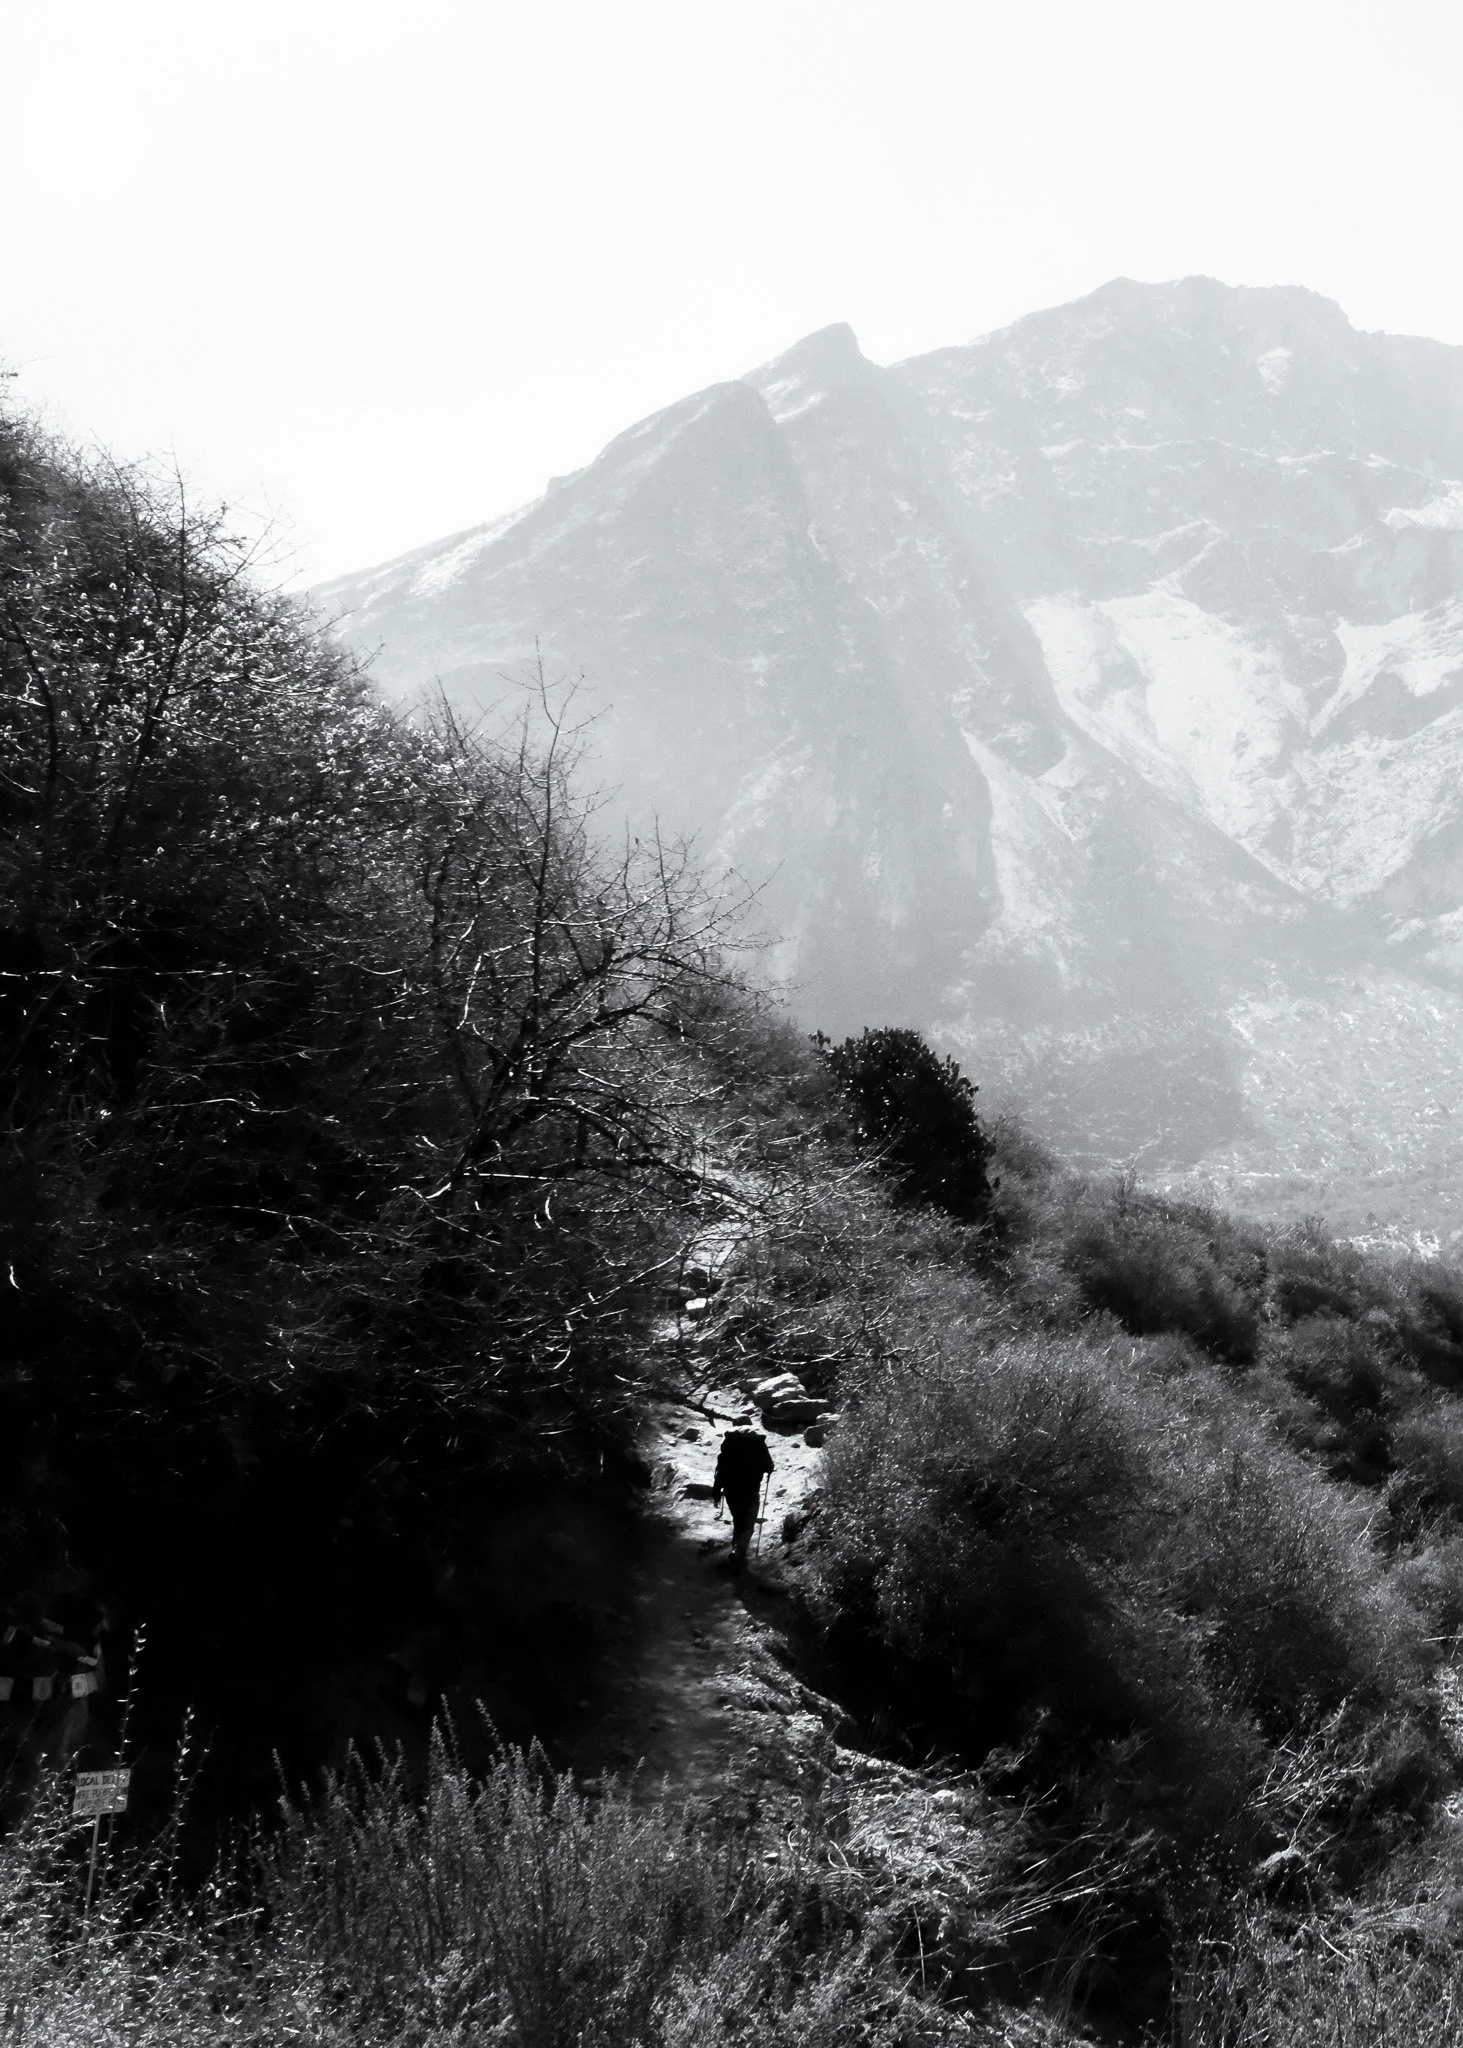
Day 2: Syabrubesi to Sherpagaun
The first proper trekking day sets the tone. You begin ascending shortly after leaving Syabrubesi. The initial climb is noticeable, but your body adapts quickly over the next few days
Forests, river sounds, and occasional glimpses of larger peaks as you gain elevation. Wildlife appears early. I spotted langurs moving through the trees and wild birds soaring overhead.
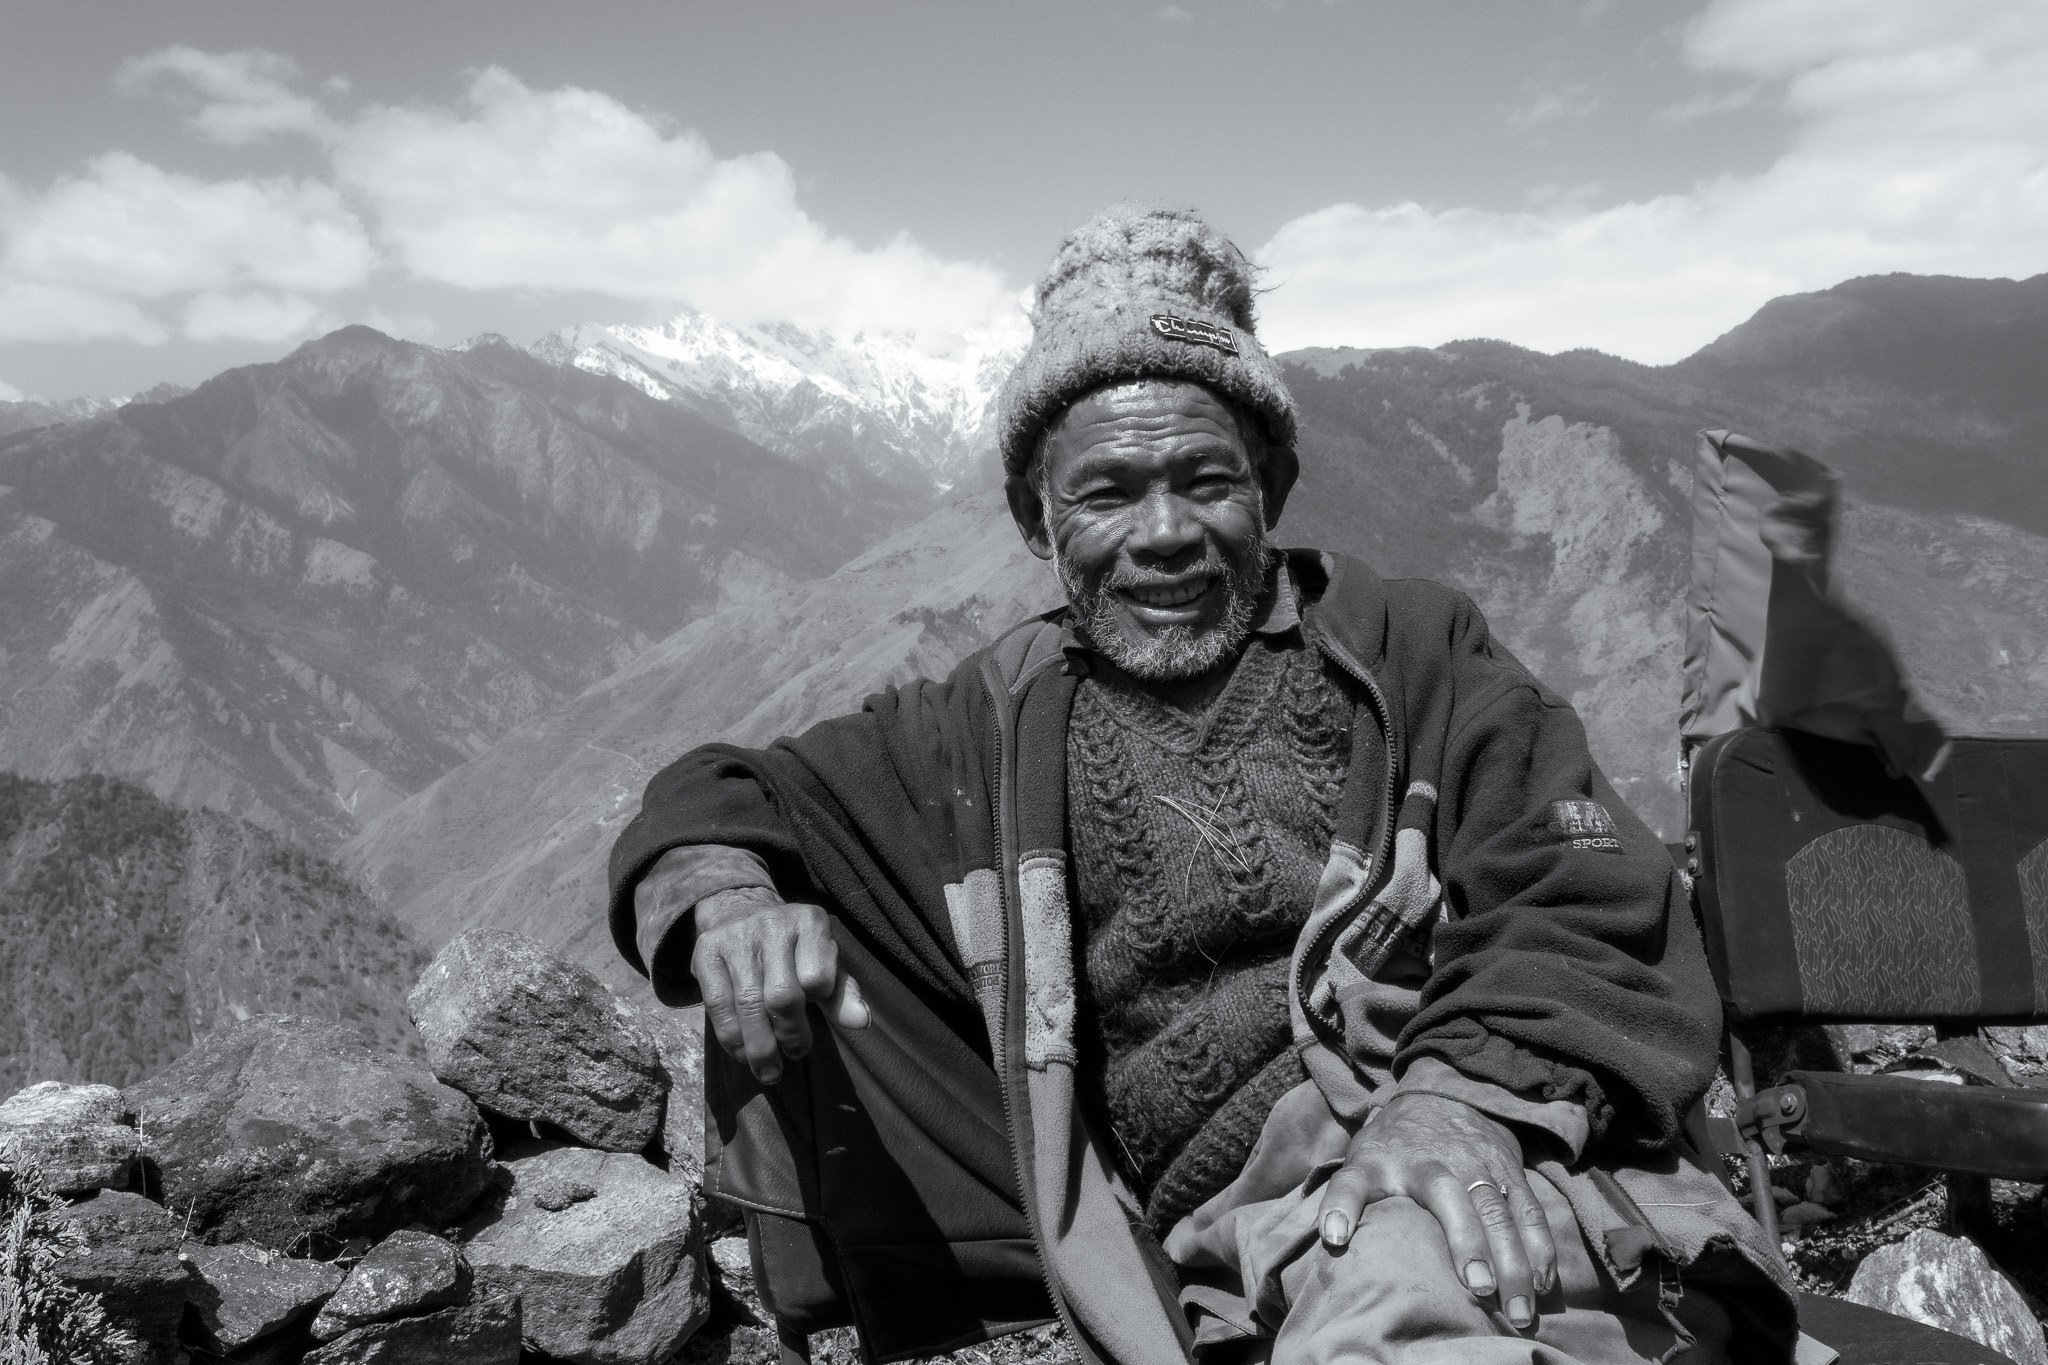
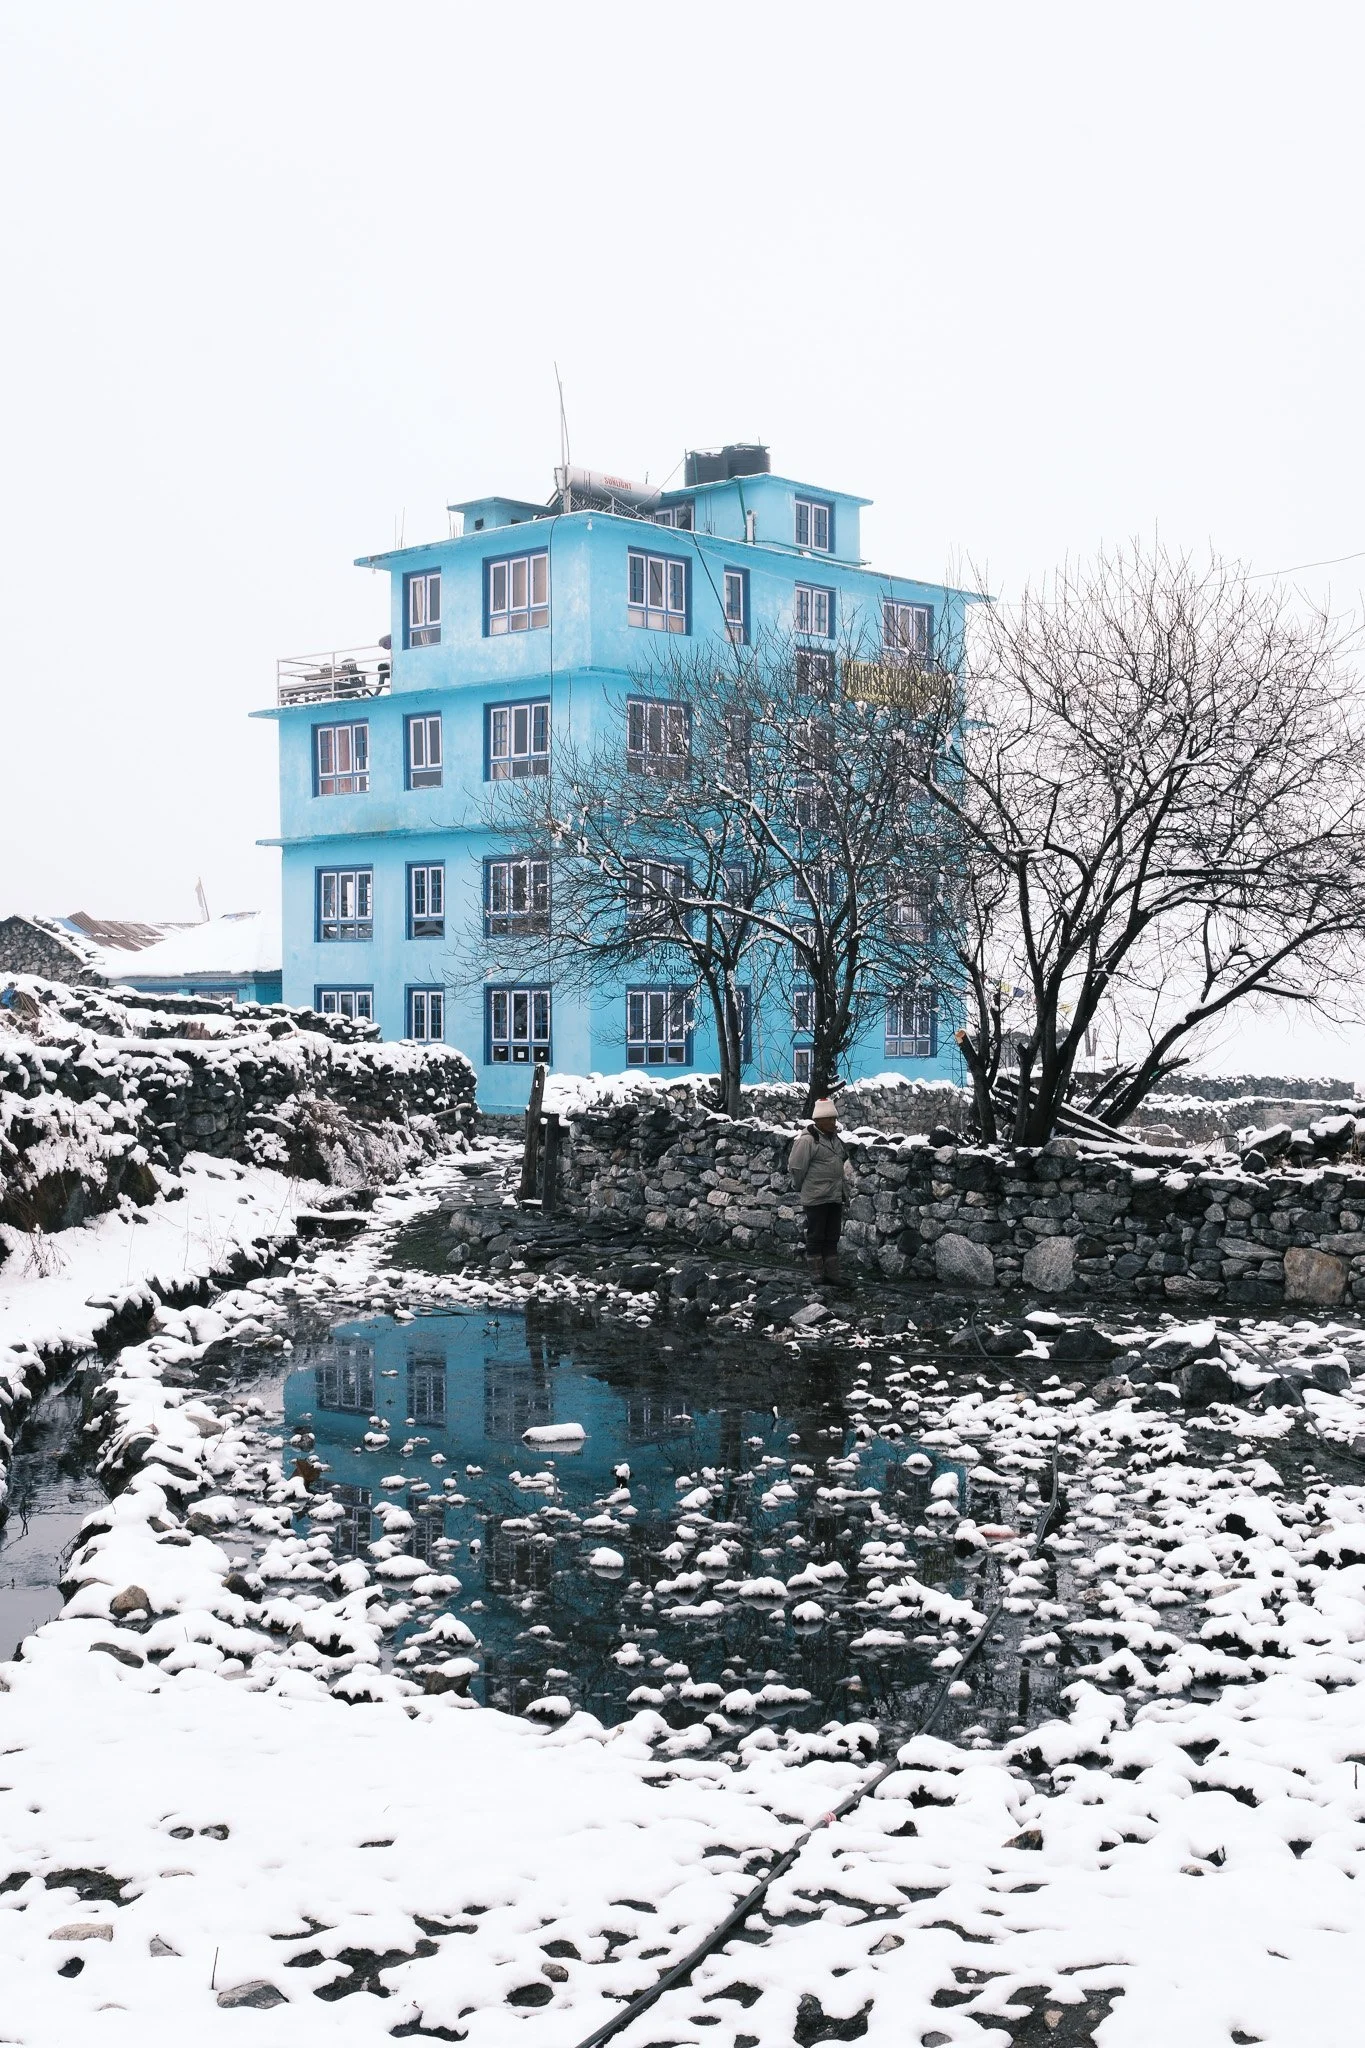
By late afternoon, we reached Sherpagaun. A small village with wooden interiors, Tibetan decor, and a fire burning through the evening. One of my favourite parts of the trek was watching and observing the Tibetan prayers and rituals that happen in the teahouses each morning.
Across the valley in the evening, small lights flickered from houses in the dark. Quiet, simple, but full of life.
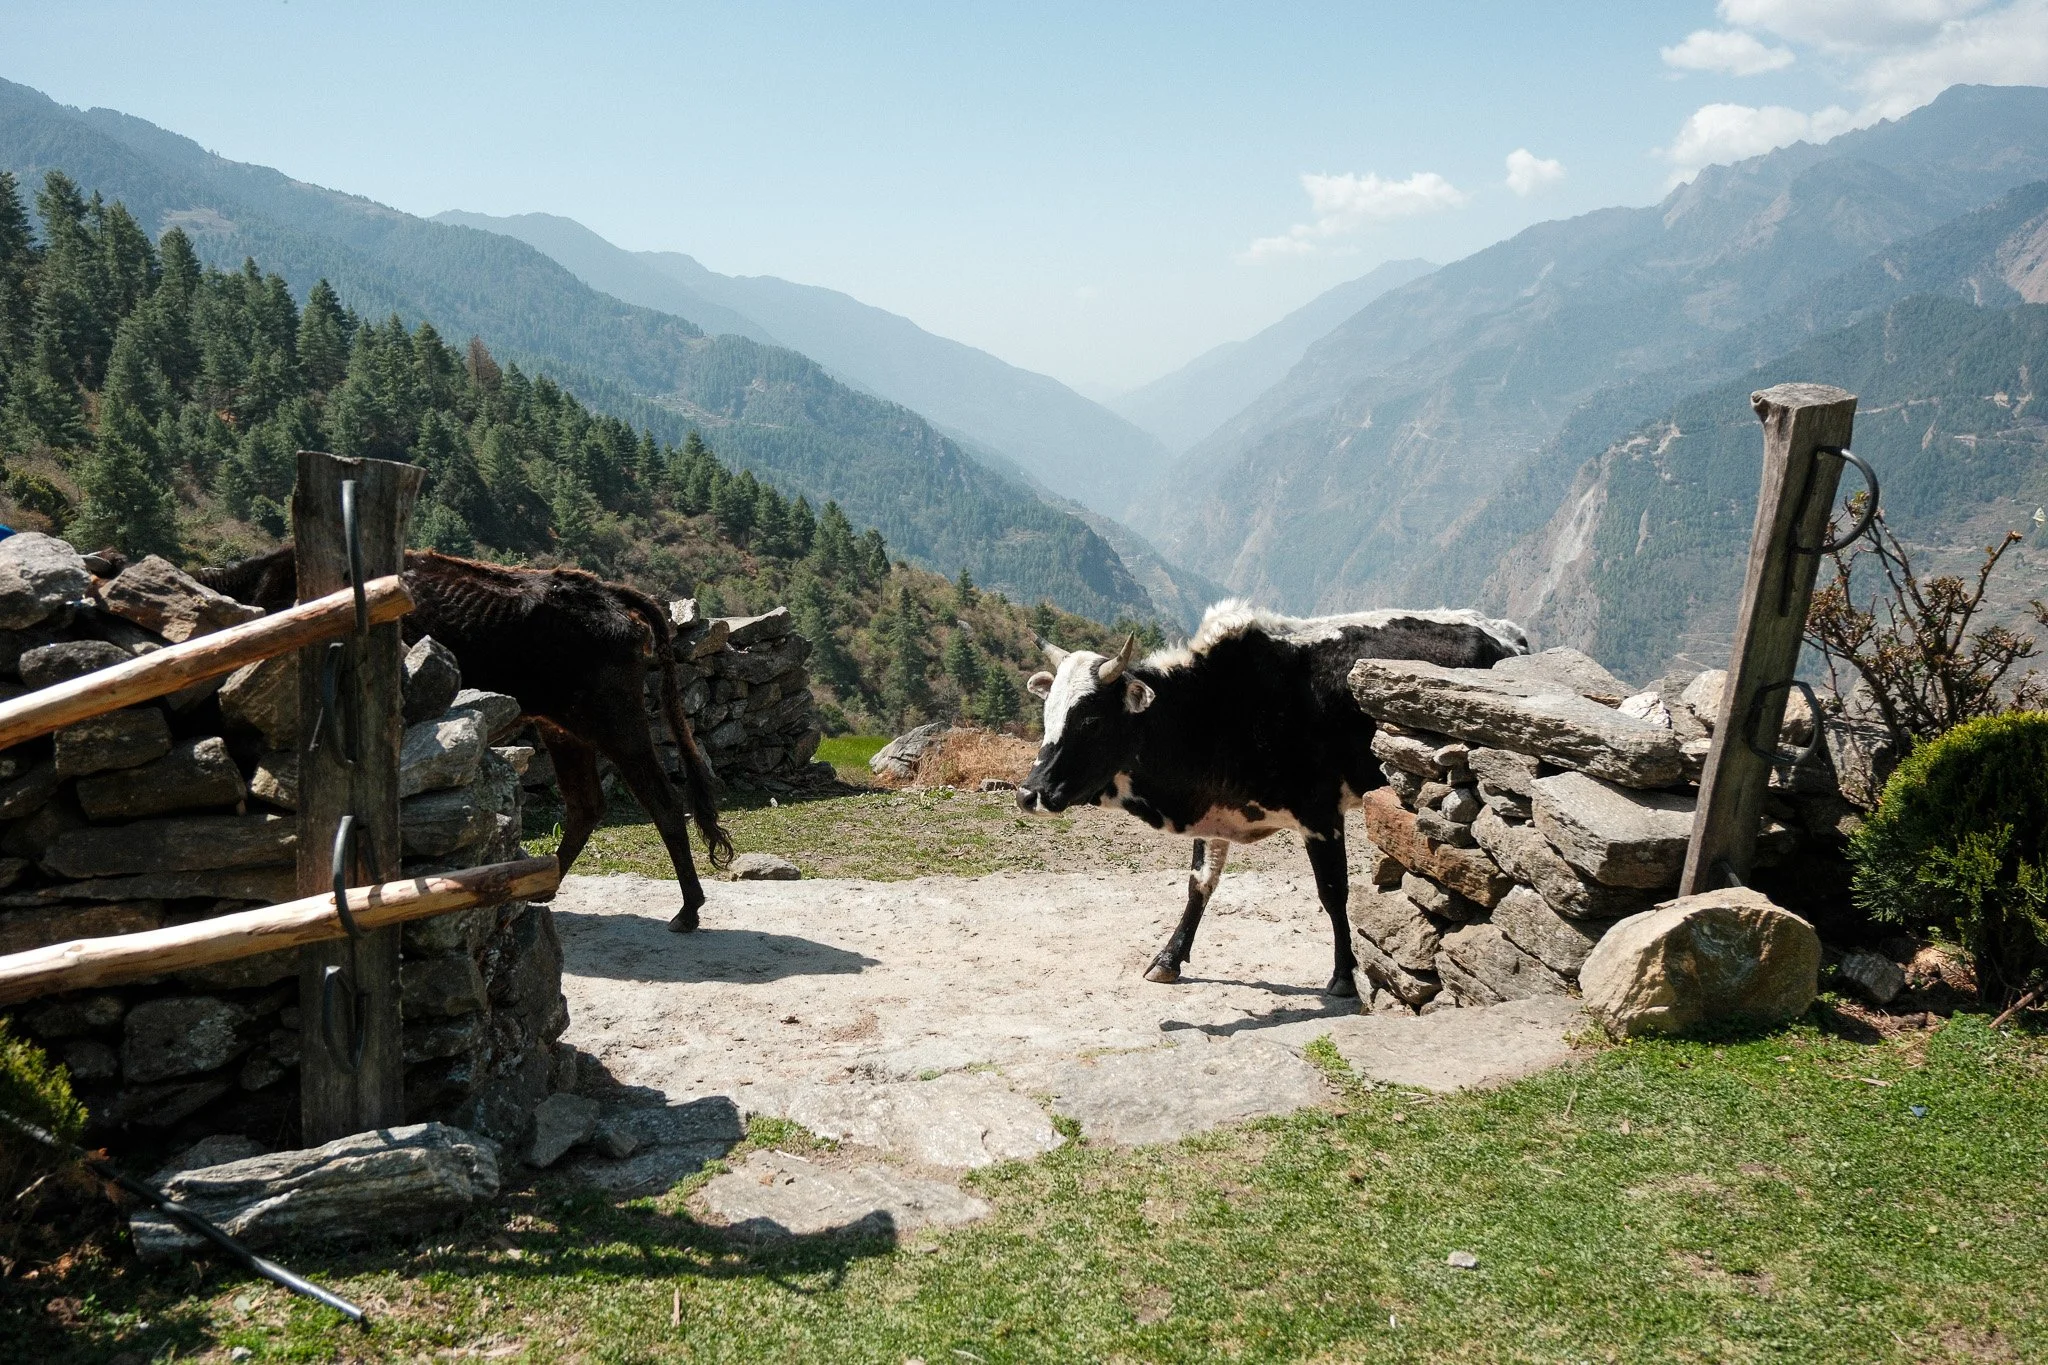
Day 3: Sherpagaun to Langtang Village
This is one of the longer days.
The trail moves through bamboo groves, waterfalls, and dense forest, with the river constantly audible below. The environment feels alive the entire time.
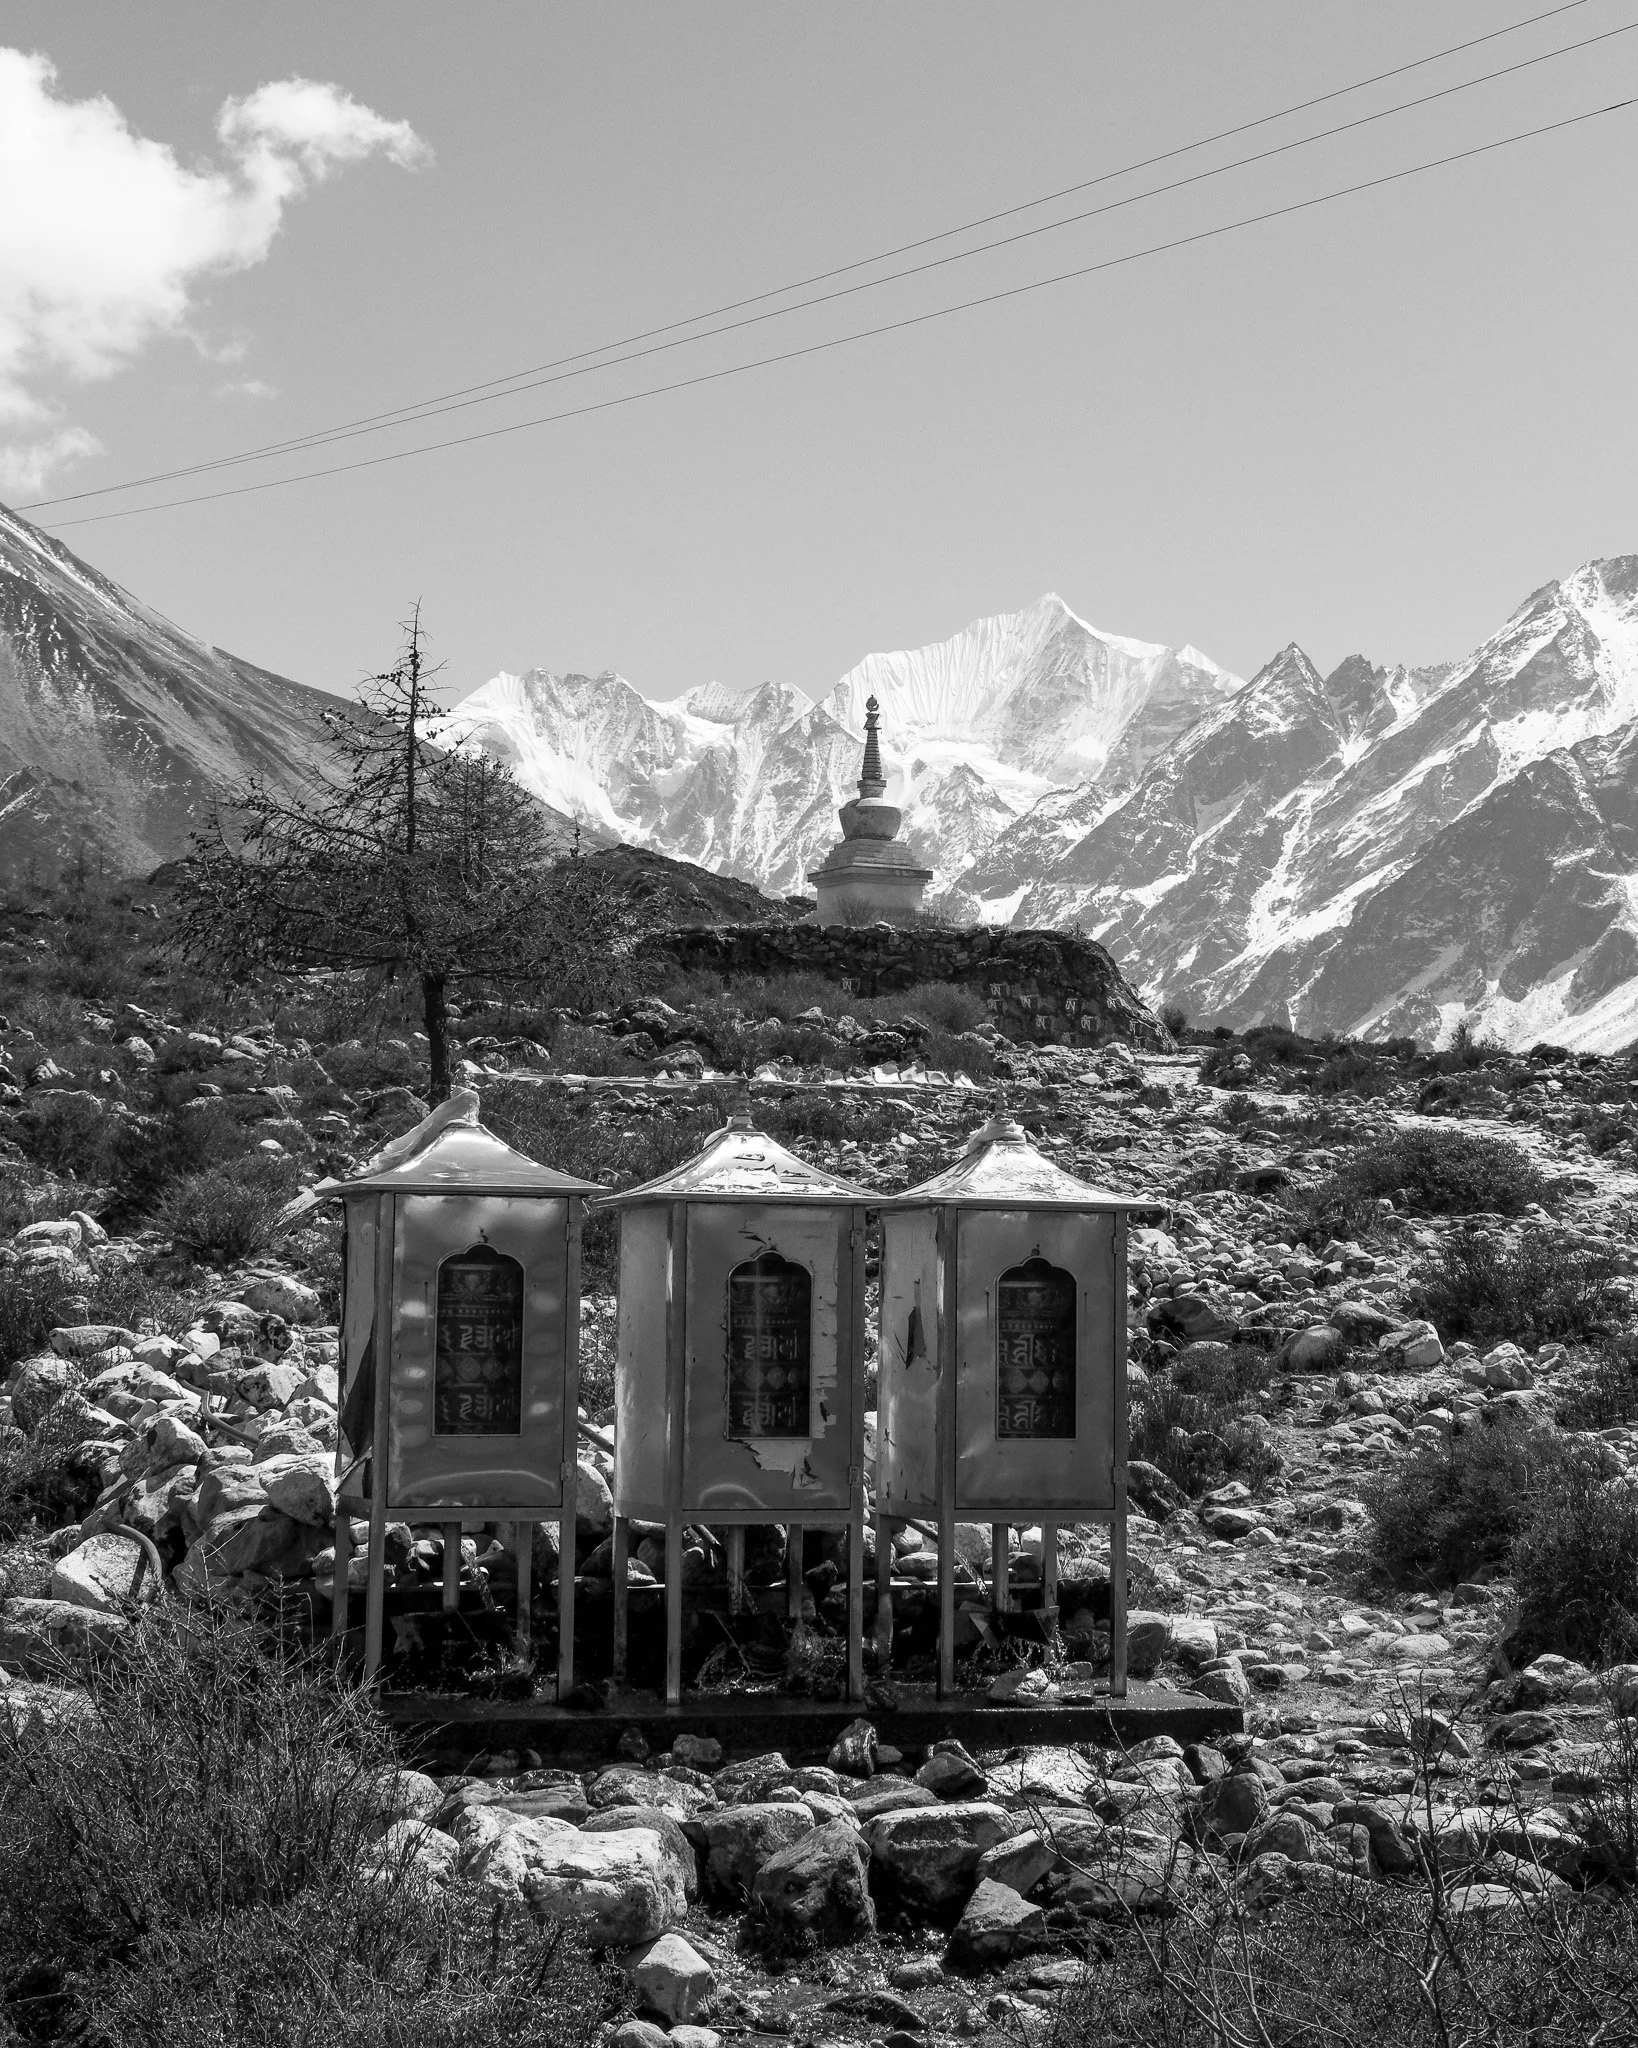
You begin to notice more cultural details too. Prayer flags, small shrines, and people moving through their daily routines.
Spending time here makes me realise how life is built differently in this part of the world. Community, belief, and routine feel more present. It gives you a different perspective compared to life back in Europe.
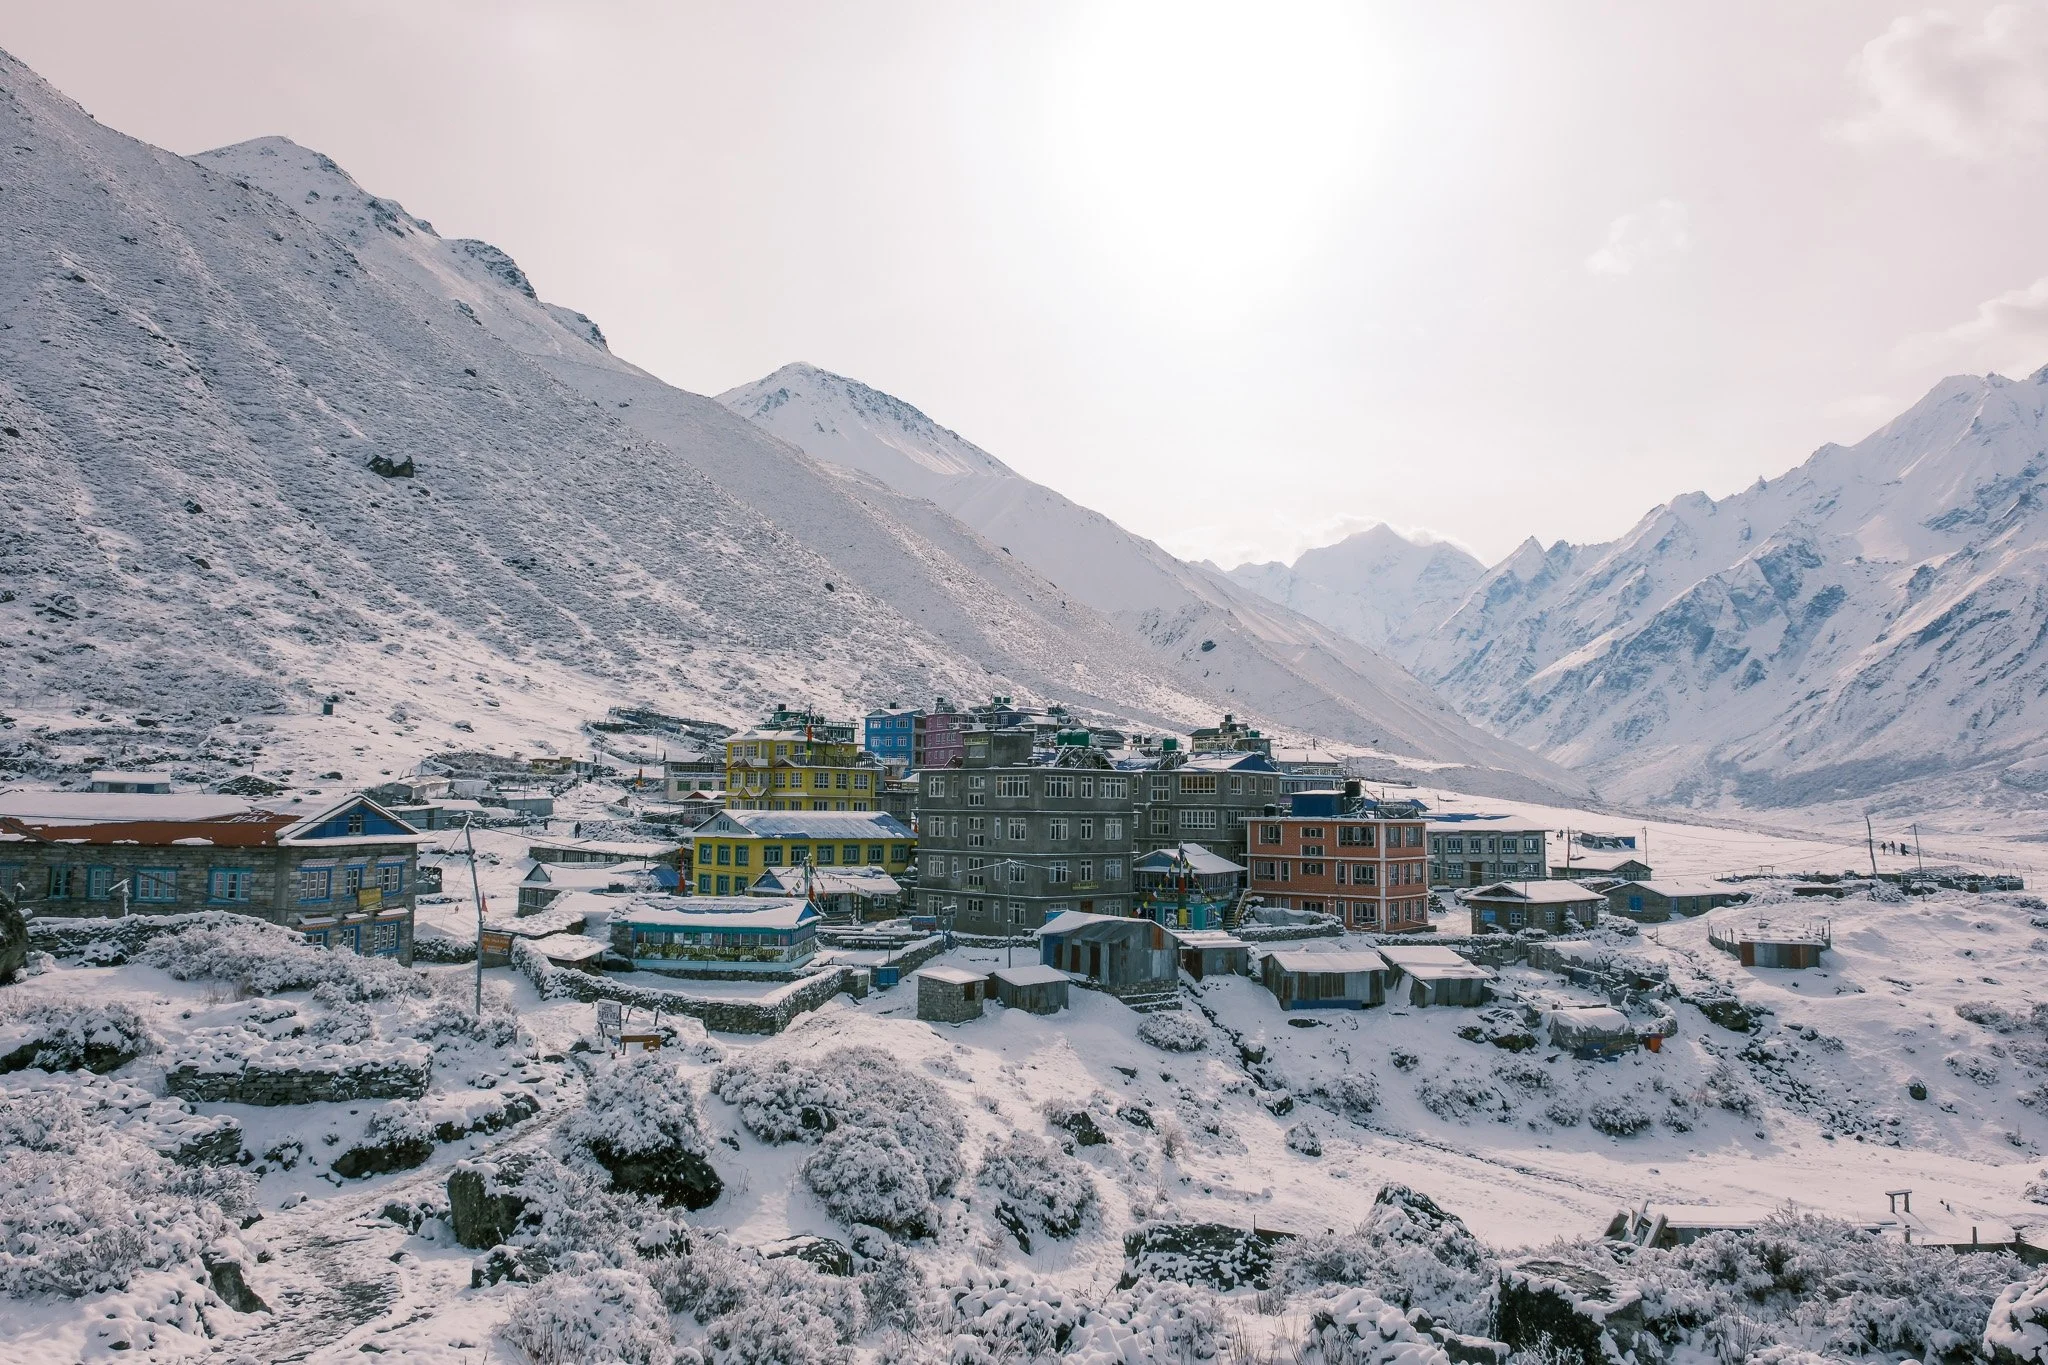
Day 4: Langtang Village to Kyanjin Gompa
A shorter and more relaxed day into Kyanjin Gompa.
In the morning, a local woman was preparing a shrine, quietly chanting prayers. Moments like that stay with you more than the landscapes.
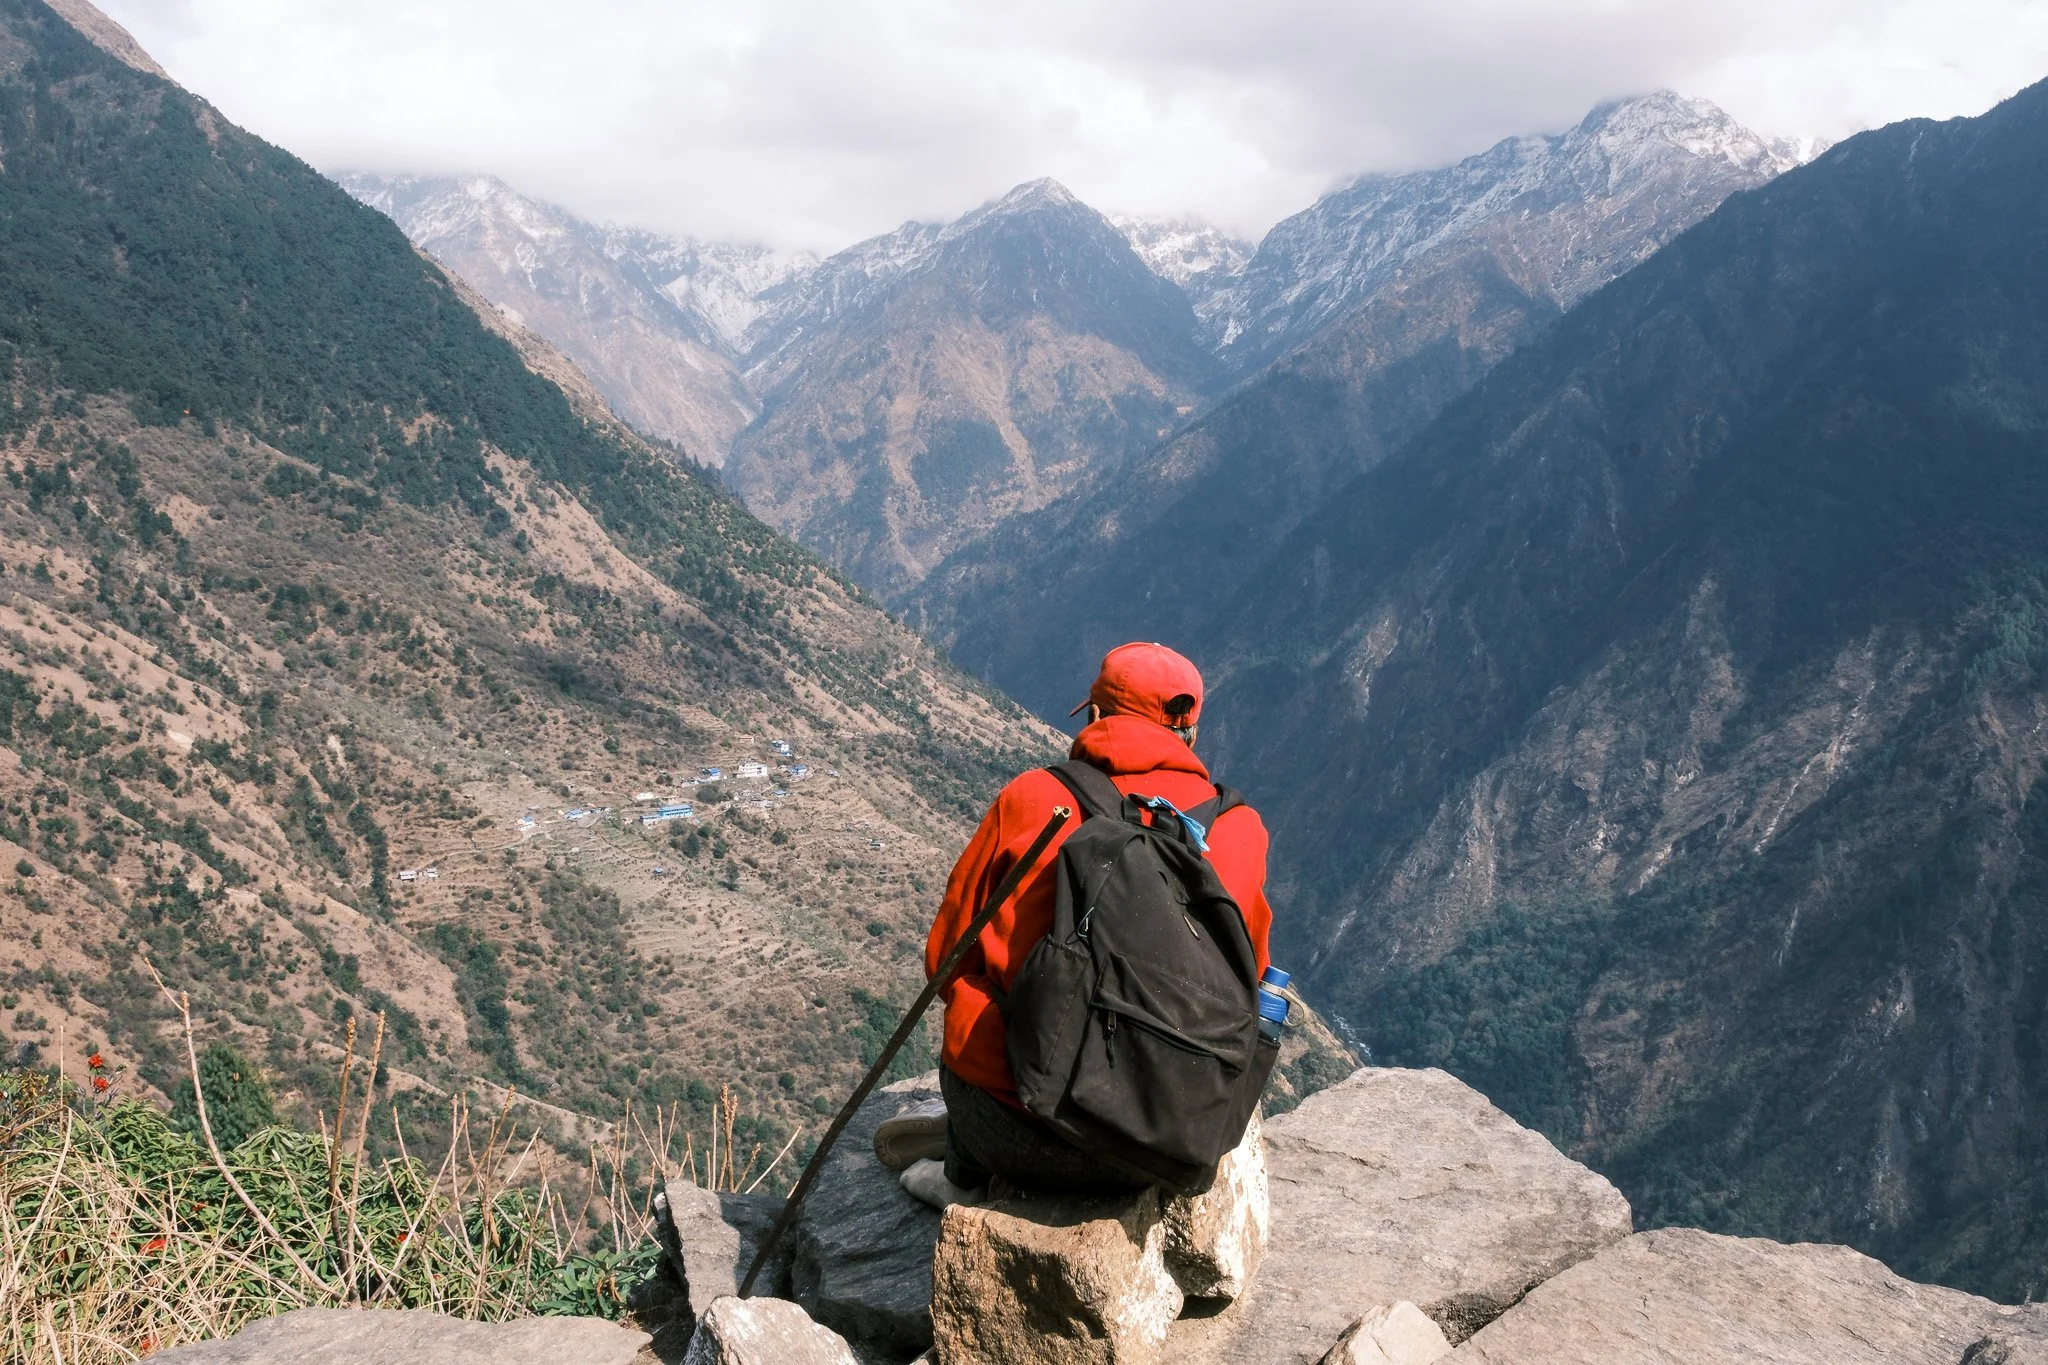
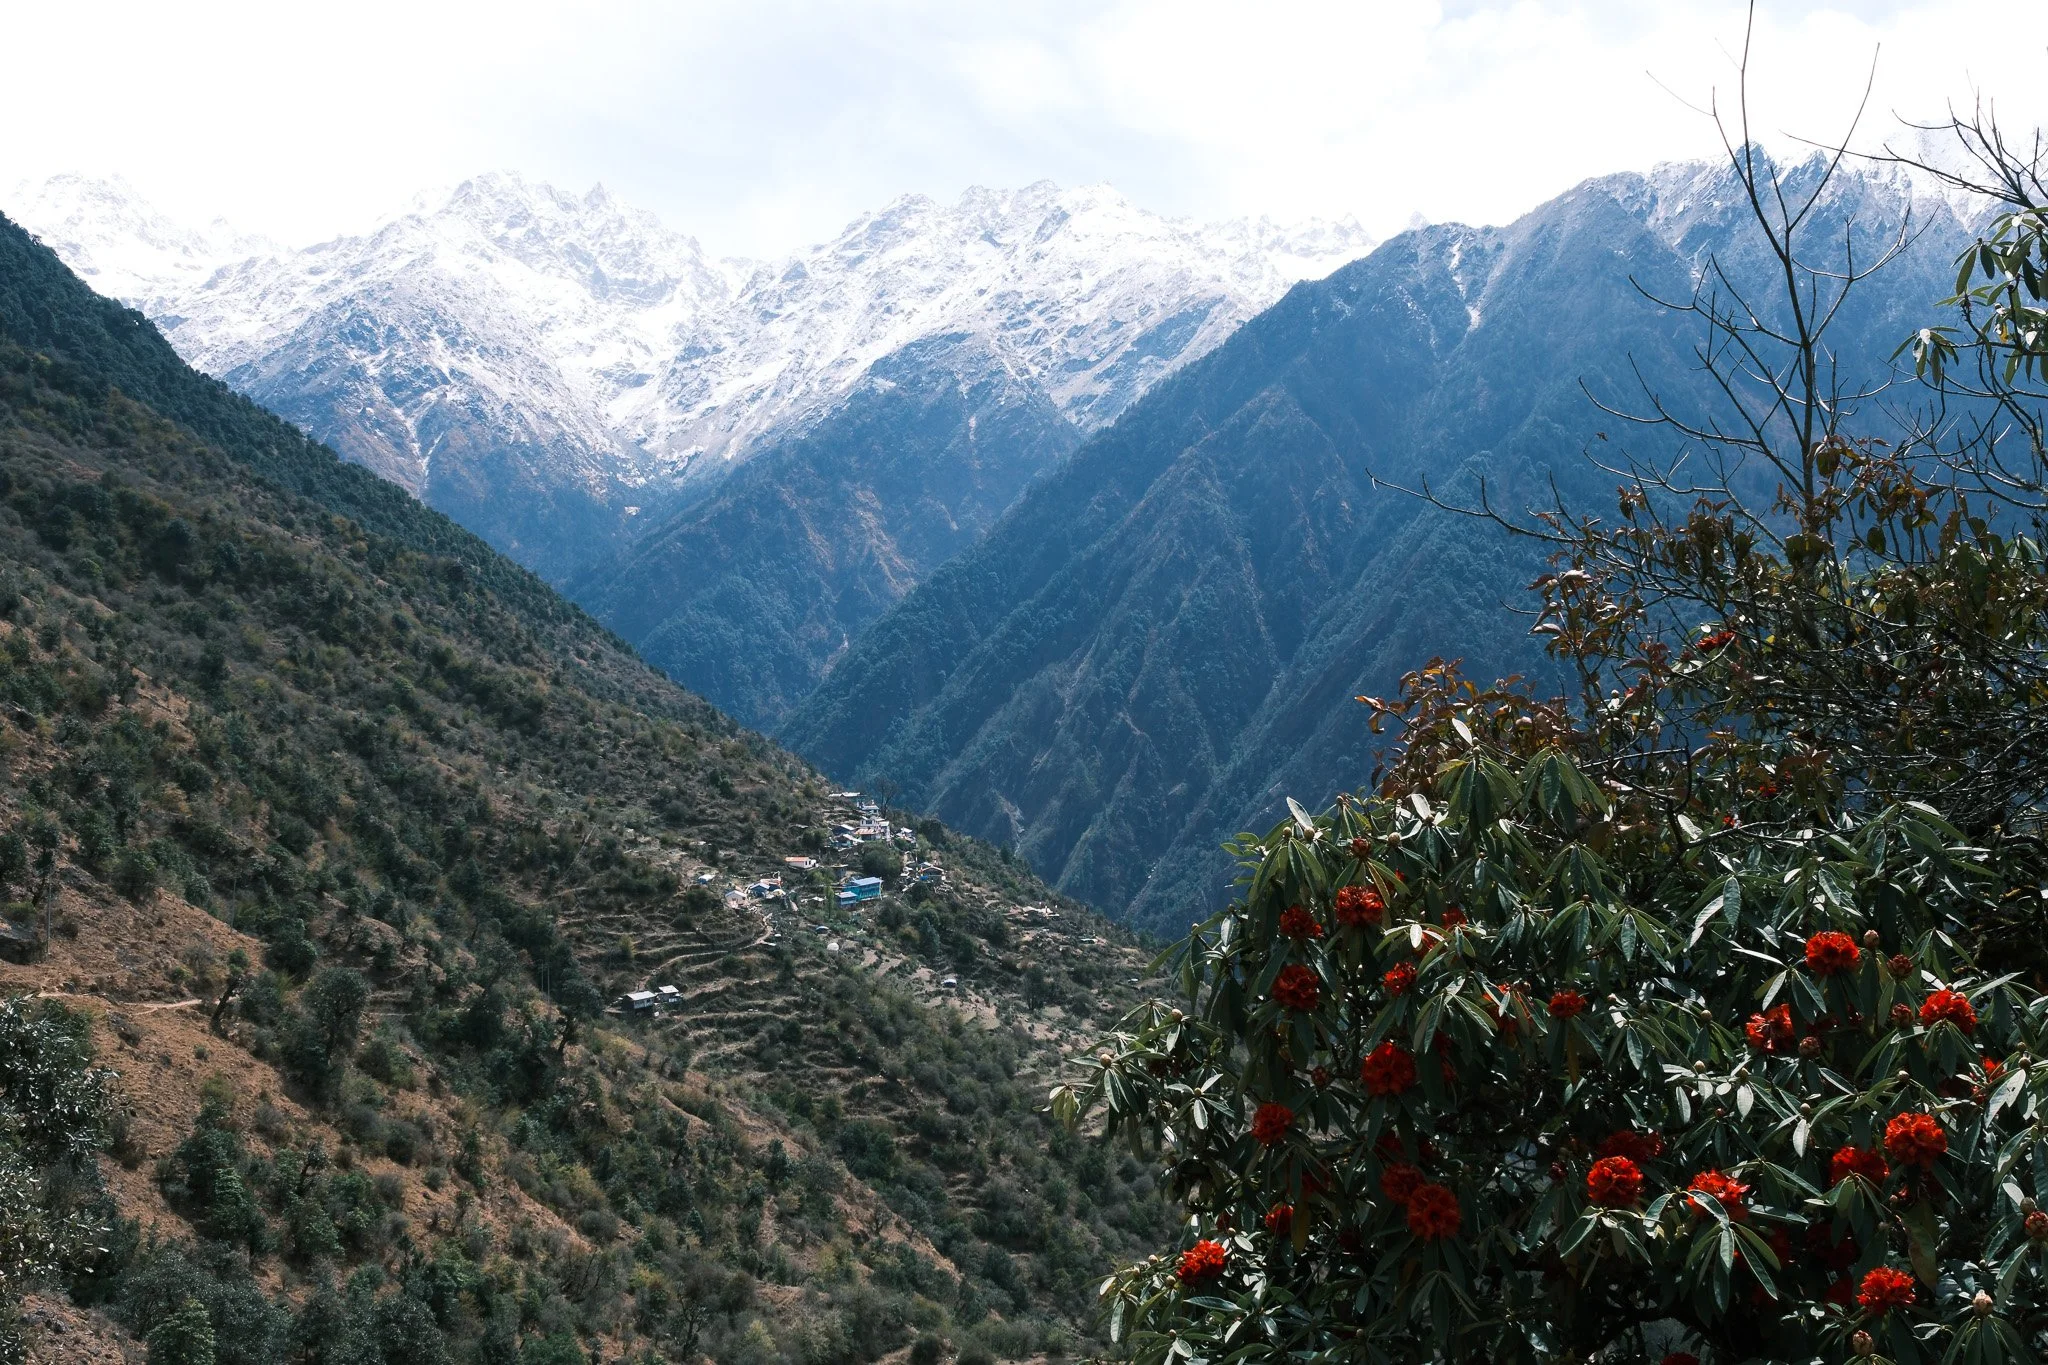
The valley opens up here. Wider, quieter, with mountains surrounding you on all sides.
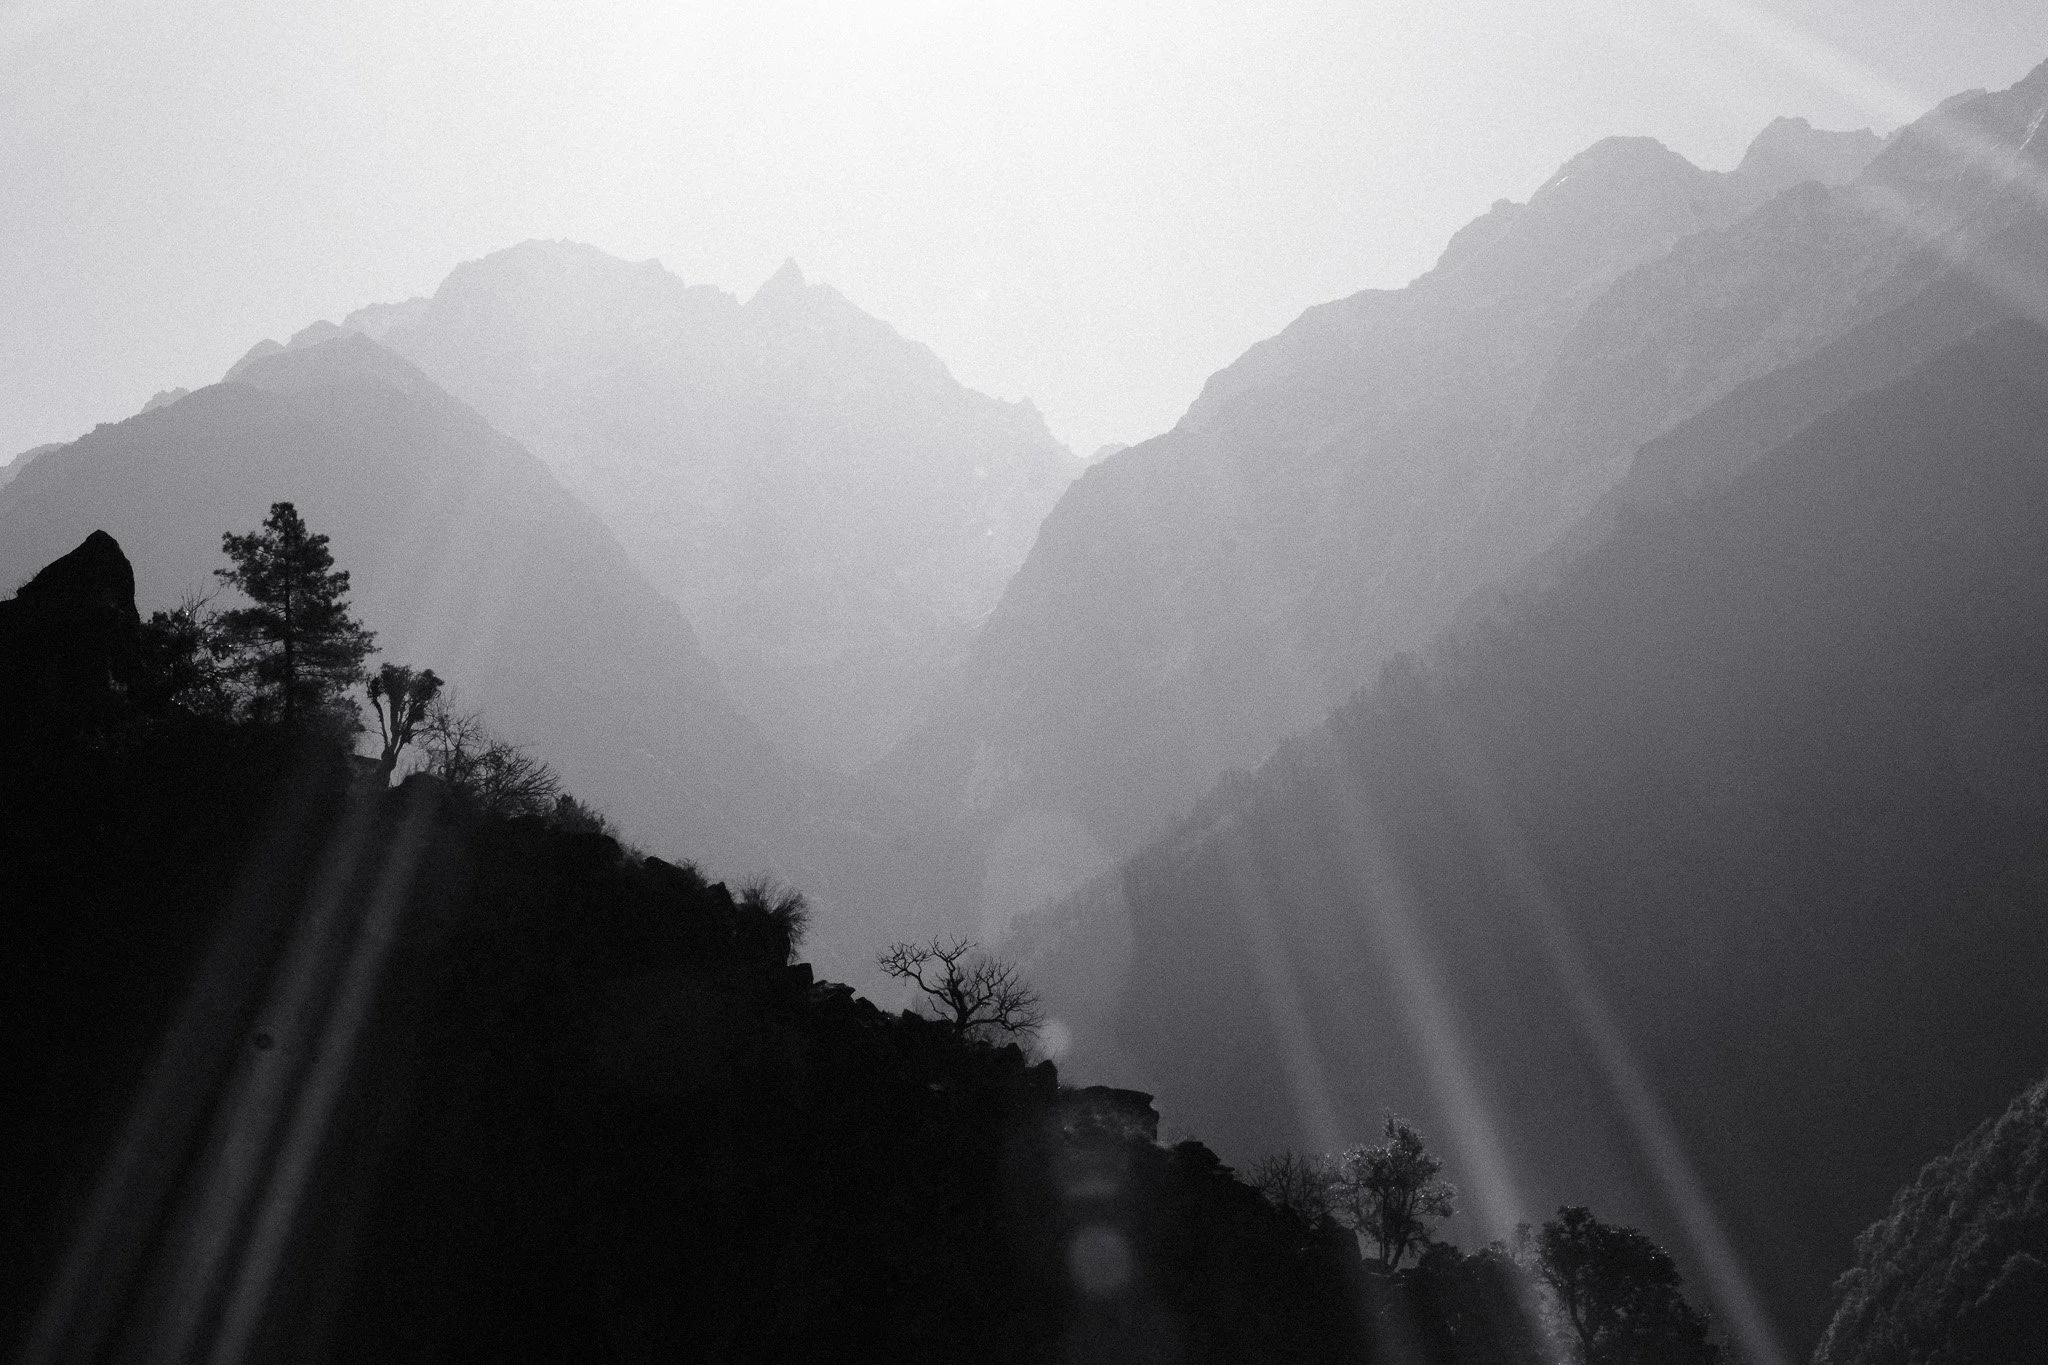
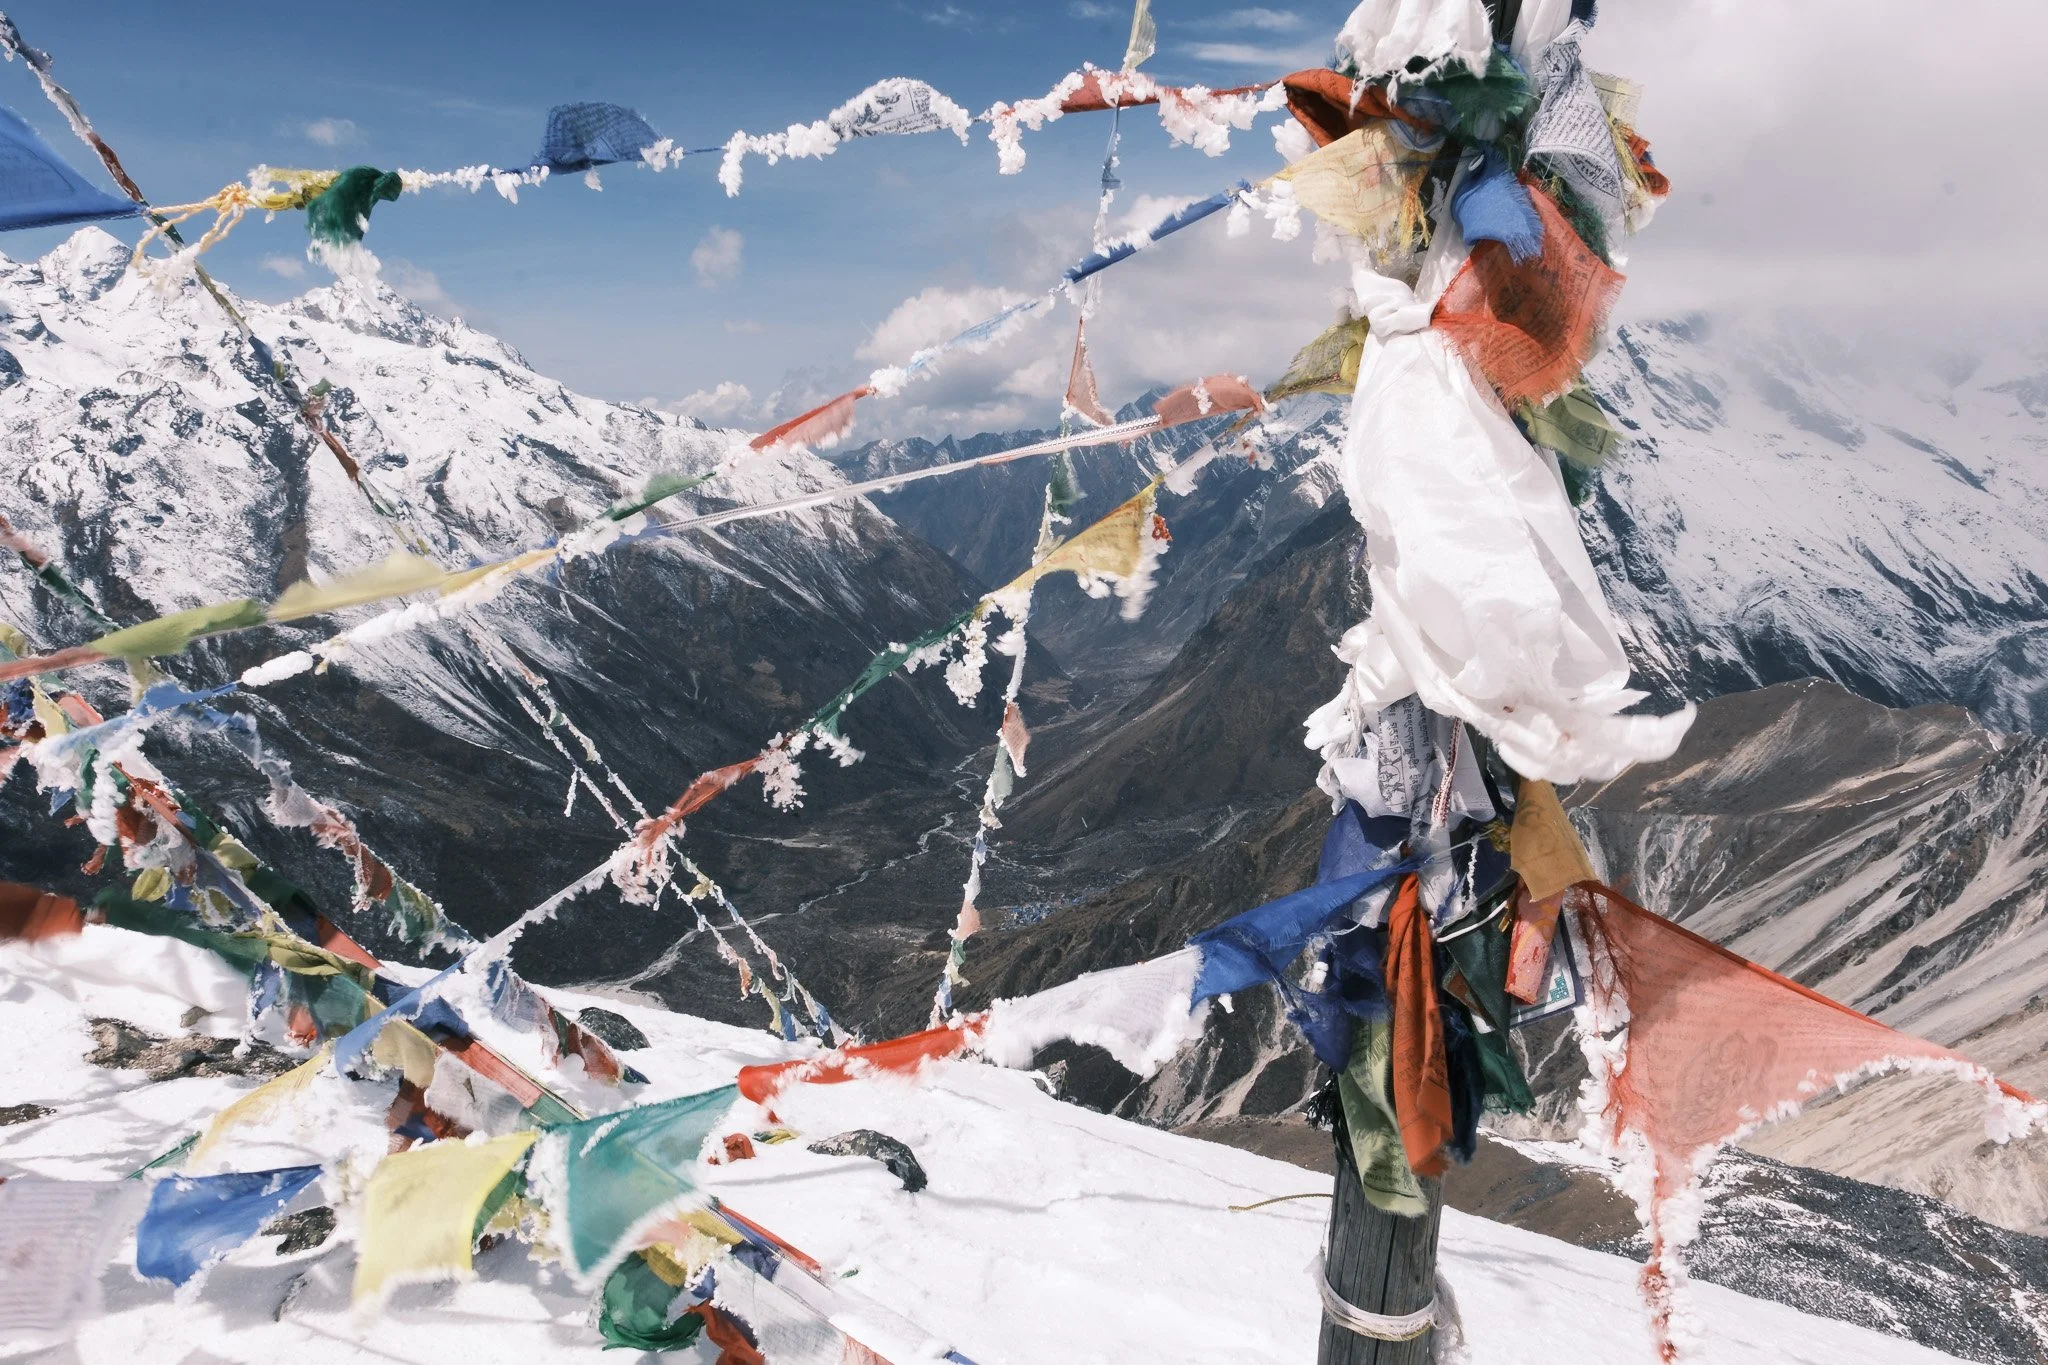
Day 5: Tserko Ri Summit Day
The most physically demanding day.
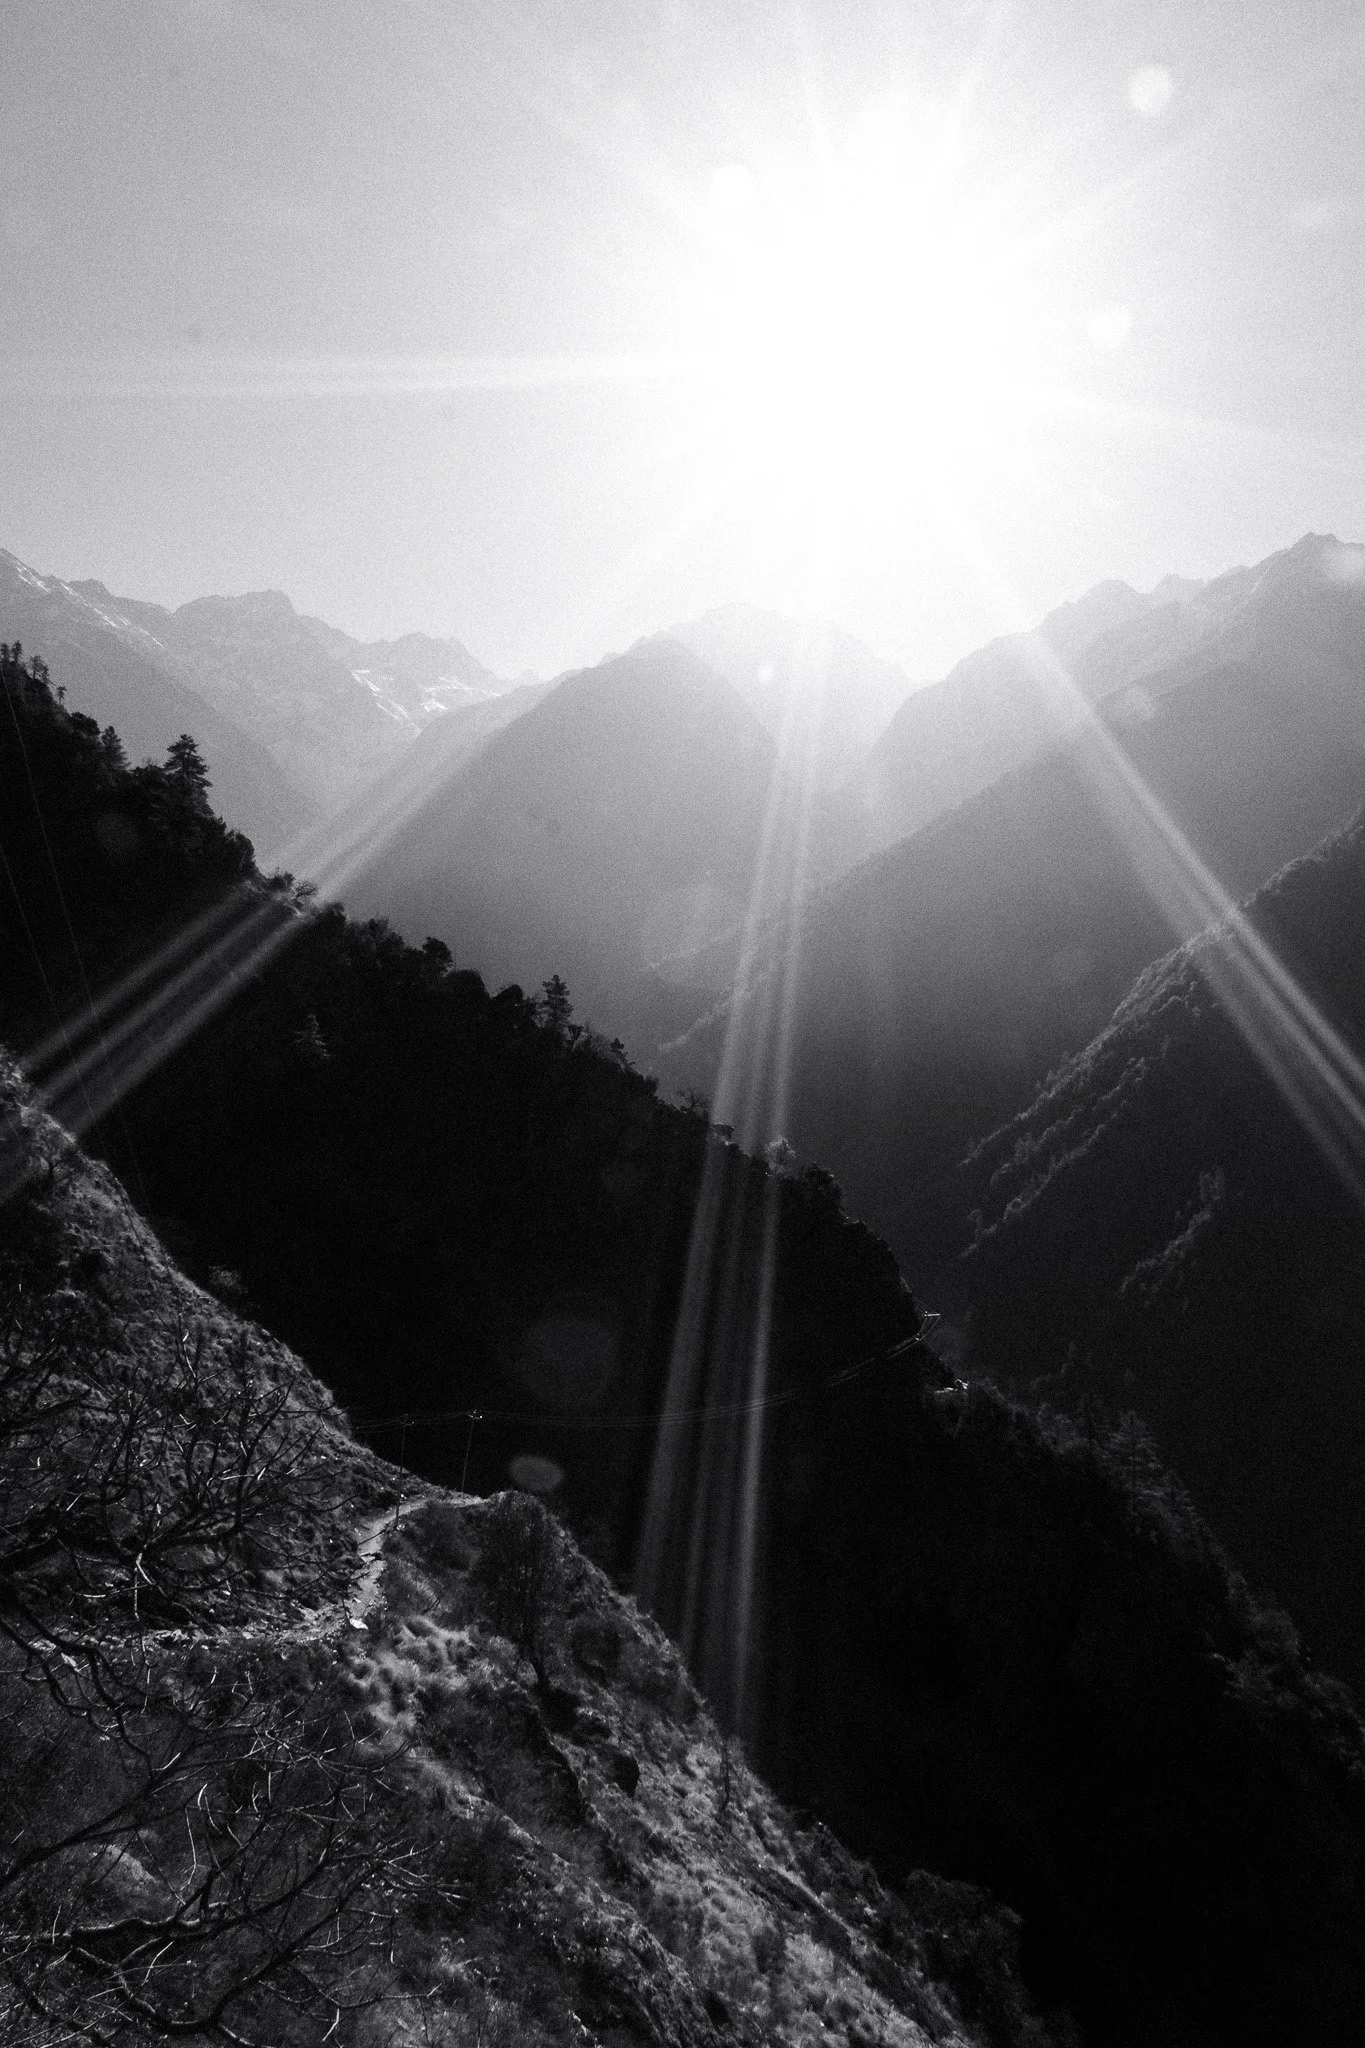
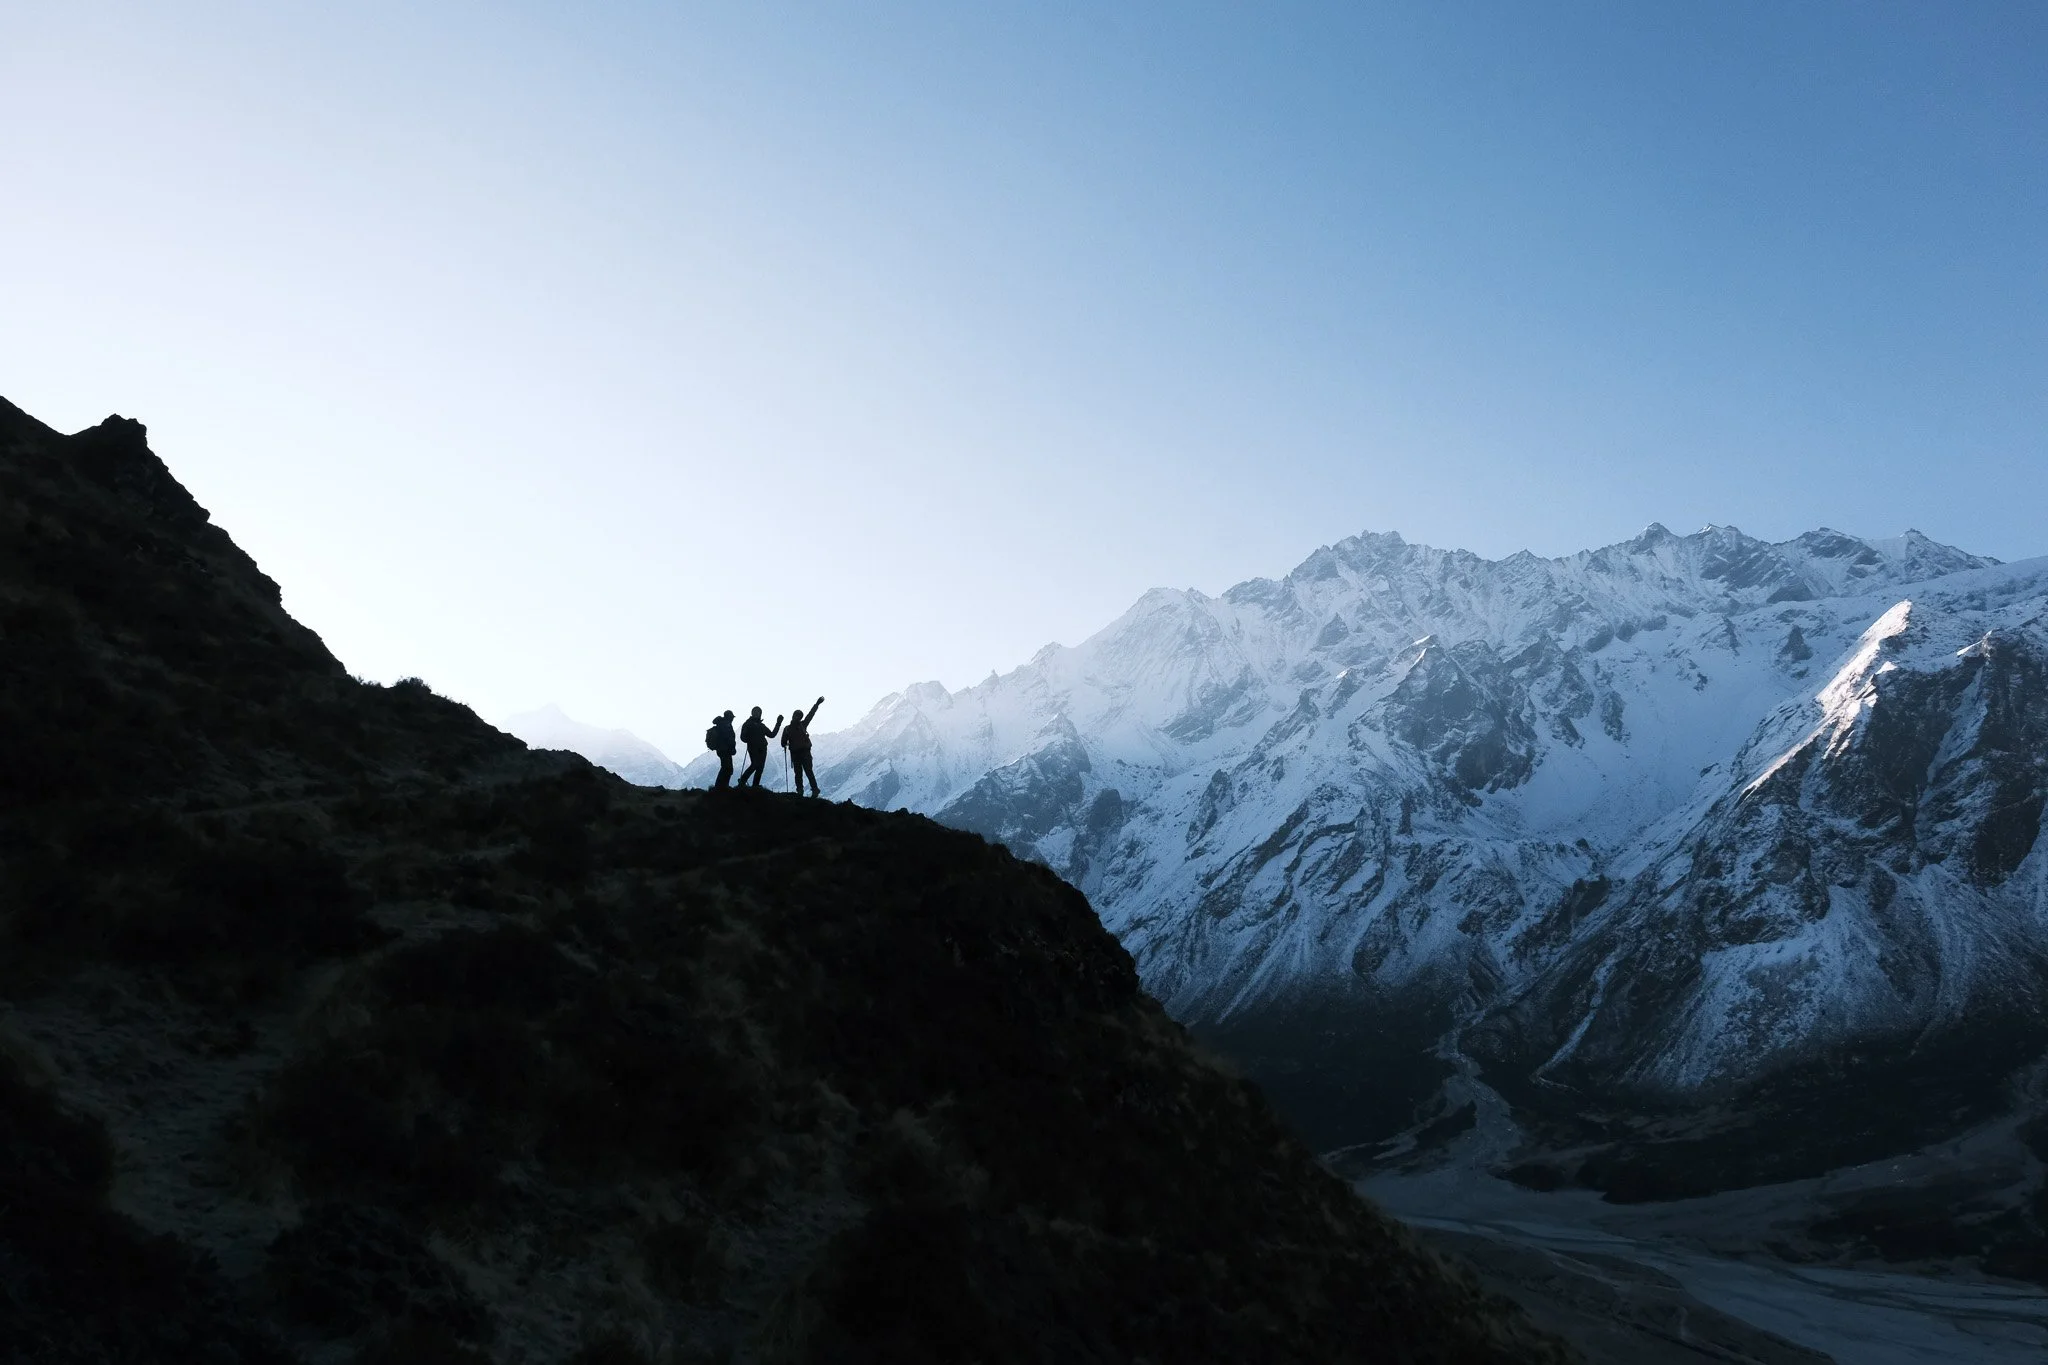
A 5am start, with the sun rising over Kyanjin and lighting up the surrounding peaks. The climb to Tserko Ri is steep, gaining over 1,100m.
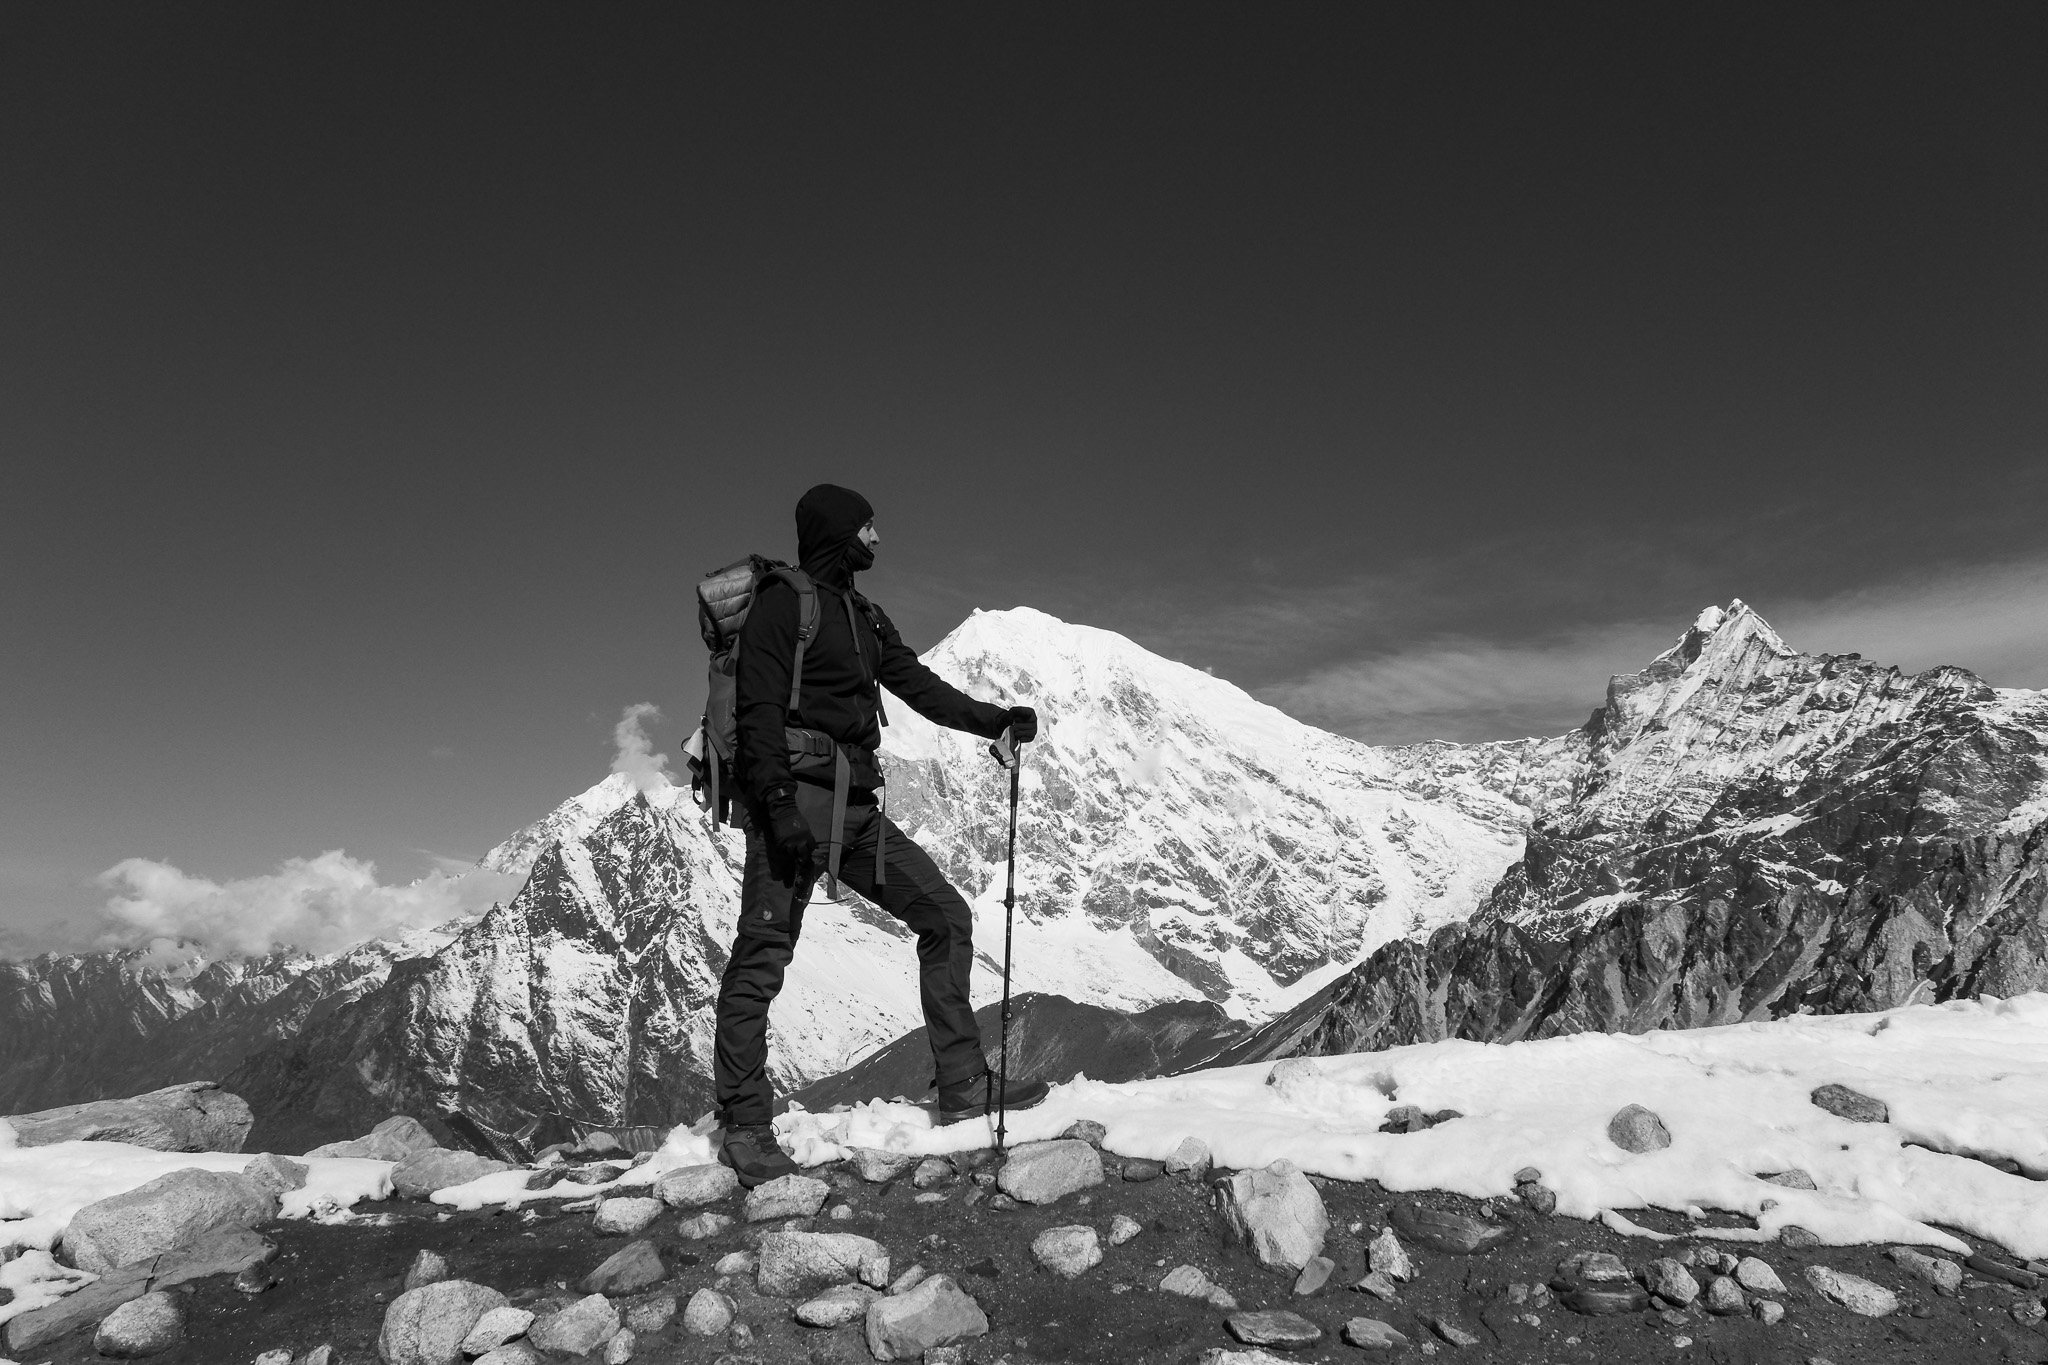
At the top, you get a full panoramic view of the Langtang range. Massive peaks on all sides, stretching far beyond what you expect.
It’s a challenging ascent, but manageable with steady pacing. I felt some altitude headache, which is normal at this height, but overall it was a good acclimatisation day ahead of bigger climbs.
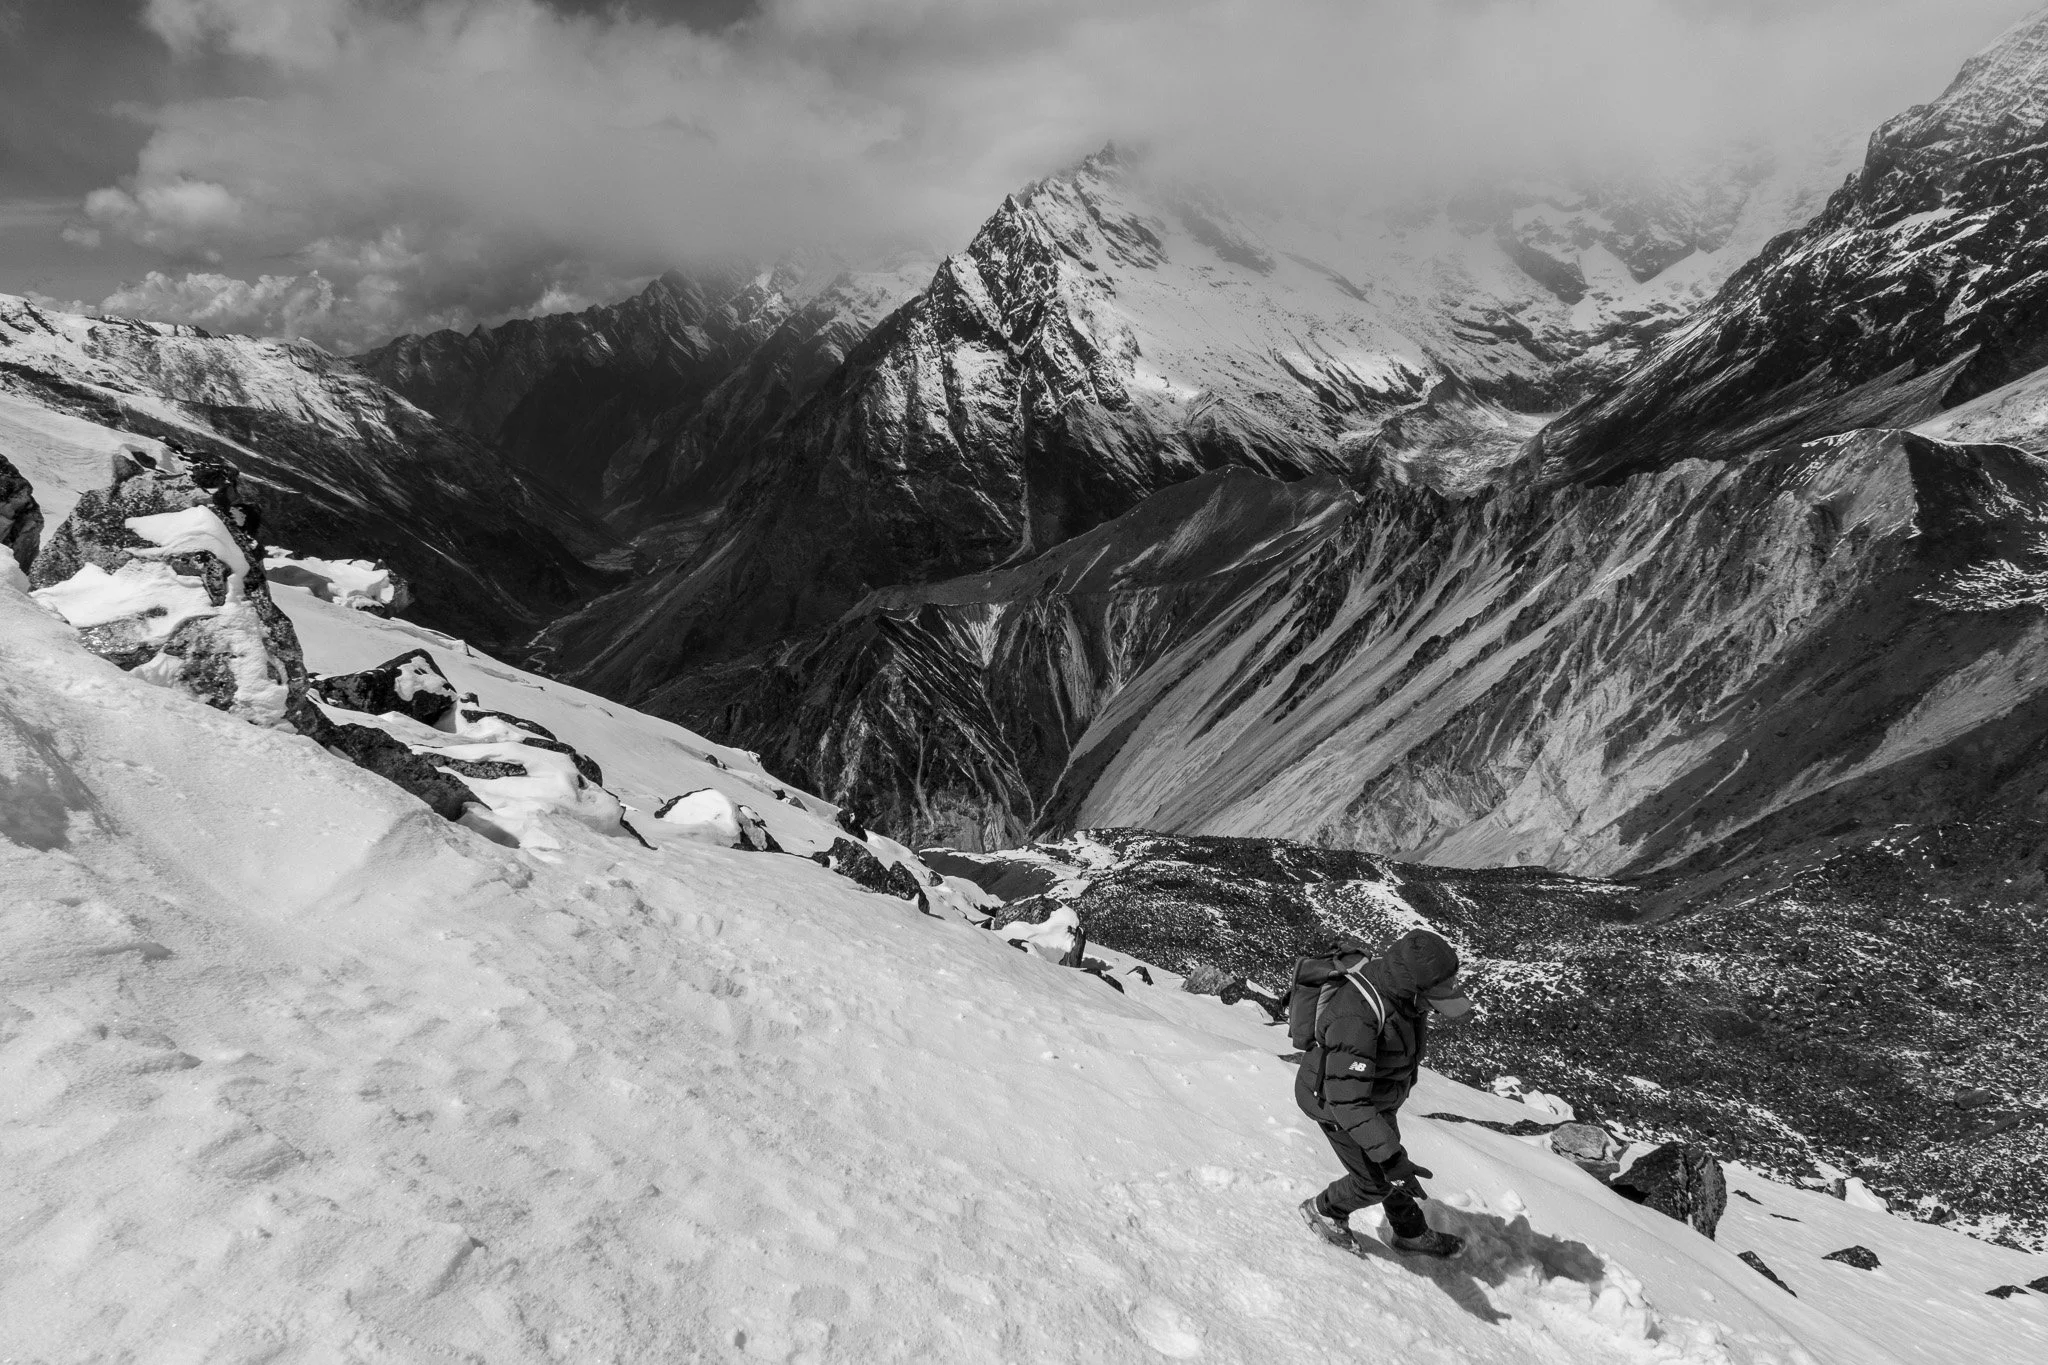
On the way down, the weather shifted quickly. Snow and a thunderstorm rolled in, cutting power in the village by evening.
Day 6: Kyanjin to Lama Hotel
A long descent day, made more difficult by snow, fog, and rain.
The trail becomes less clear in poor conditions, and the environment changes completely. What felt open and bright on the way up now felt enclosed and quiet.
One key lesson here was to protect your health. Crowded tea houses, wet clothes, and cold temperatures can easily lead to illness if you’re not careful.
Day 7: Lama Hotel to Syabrubesi
The final day follows the river back down.
Mornings in the tea houses are some of the most memorable parts of the trek. Prayer chants, incense burning, people gathered around the fire.
The atmosphere is simple but warm. There’s a strong sense of routine and connection between people.

Tserko Ri: Is It Worth It?
Yes. It’s one of the best viewpoints in the region and adds real value to the trek.
Effort: High
Reward: Very high
Best time: Early morning for light and weather stability
It also works well as acclimatisation if you’re planning higher altitude climbs afterwards.
Difficulty & Acclimatisation
Overall difficulty: Moderate
Tserko Ri day: Challenging
Fitness level: Basic trekking fitness is enough
The gradual ascent helps with acclimatisation, but you still reach close to 5,000m.
Expect:
Some fatigue
Possible mild altitude symptoms
Long walking days (6 to 8 hours)
Costs (Approximate)
I booked a guided tour with Explore Hub Nepal and the total cost (not including tips and some personal spend), was approximately 800 USD.
Some people choose to trek solo, despite the current requirement for a guide, however I strongly suggest getting a guide who can teach you about the area and the culture around the trek, it’s well worth the money.
There will likely be some extra expenses on your trip, such as tips, and extra food/ snacks, souvenirs hot showers etc, so be sure to bring some extra cash with you.
What to Pack (Minimal Approach)
I have now been on a few treks and climbs in Nepal, and I realise that due to a few factors such as weather conditions, the need to keep pack weight down and the constant movement happening on these trips, I prefer to keep my photography setup very simple.
Camera: Fujifilm X-T5
Lens: 16–80mm f/4. This is one of my heavier lenses but it proved to be versatile enough to capture most of the shots I was after.
No extra lenses
2 spare batteries
This covered:
Landscapes
Portraits
Detail shots
Keeping gear minimal makes a big difference, especially on long days and high elevation.
If I were staying much longer in the area and exploring each village for a while, I might decide to take more lenses but since there is so much movement every day, it’s best to opt for a simpler setup with one lens that you will end up using the majority of the time.
General packing:
I used a 65L backpack and carried it myself for the trek, the total weight was about 14kg with water and food. Most guide companies will offer a porter service, or you can find a porter for your trek if you need to have support for carrying your equipment. A porter can carry up to 20kg. There are laundry services or opportunities to wash your own clothes throughout the trek, so I would bear this in mind and pack lightly.
There are other considerations like medicine, food, water filtration, and clothing layers, but I’ve kept this guide focused on photography. Feel free to reach out if you have questions.
Photography Tips for Langtang
1. Shoot Early and Late
Morning light in the valley is soft and directional. It’s the best time for both landscapes and village scenes. The sun gets very strong during the day which can affect your shots, however the soft light in the morning and evenings is generally excellent when the weather is good.
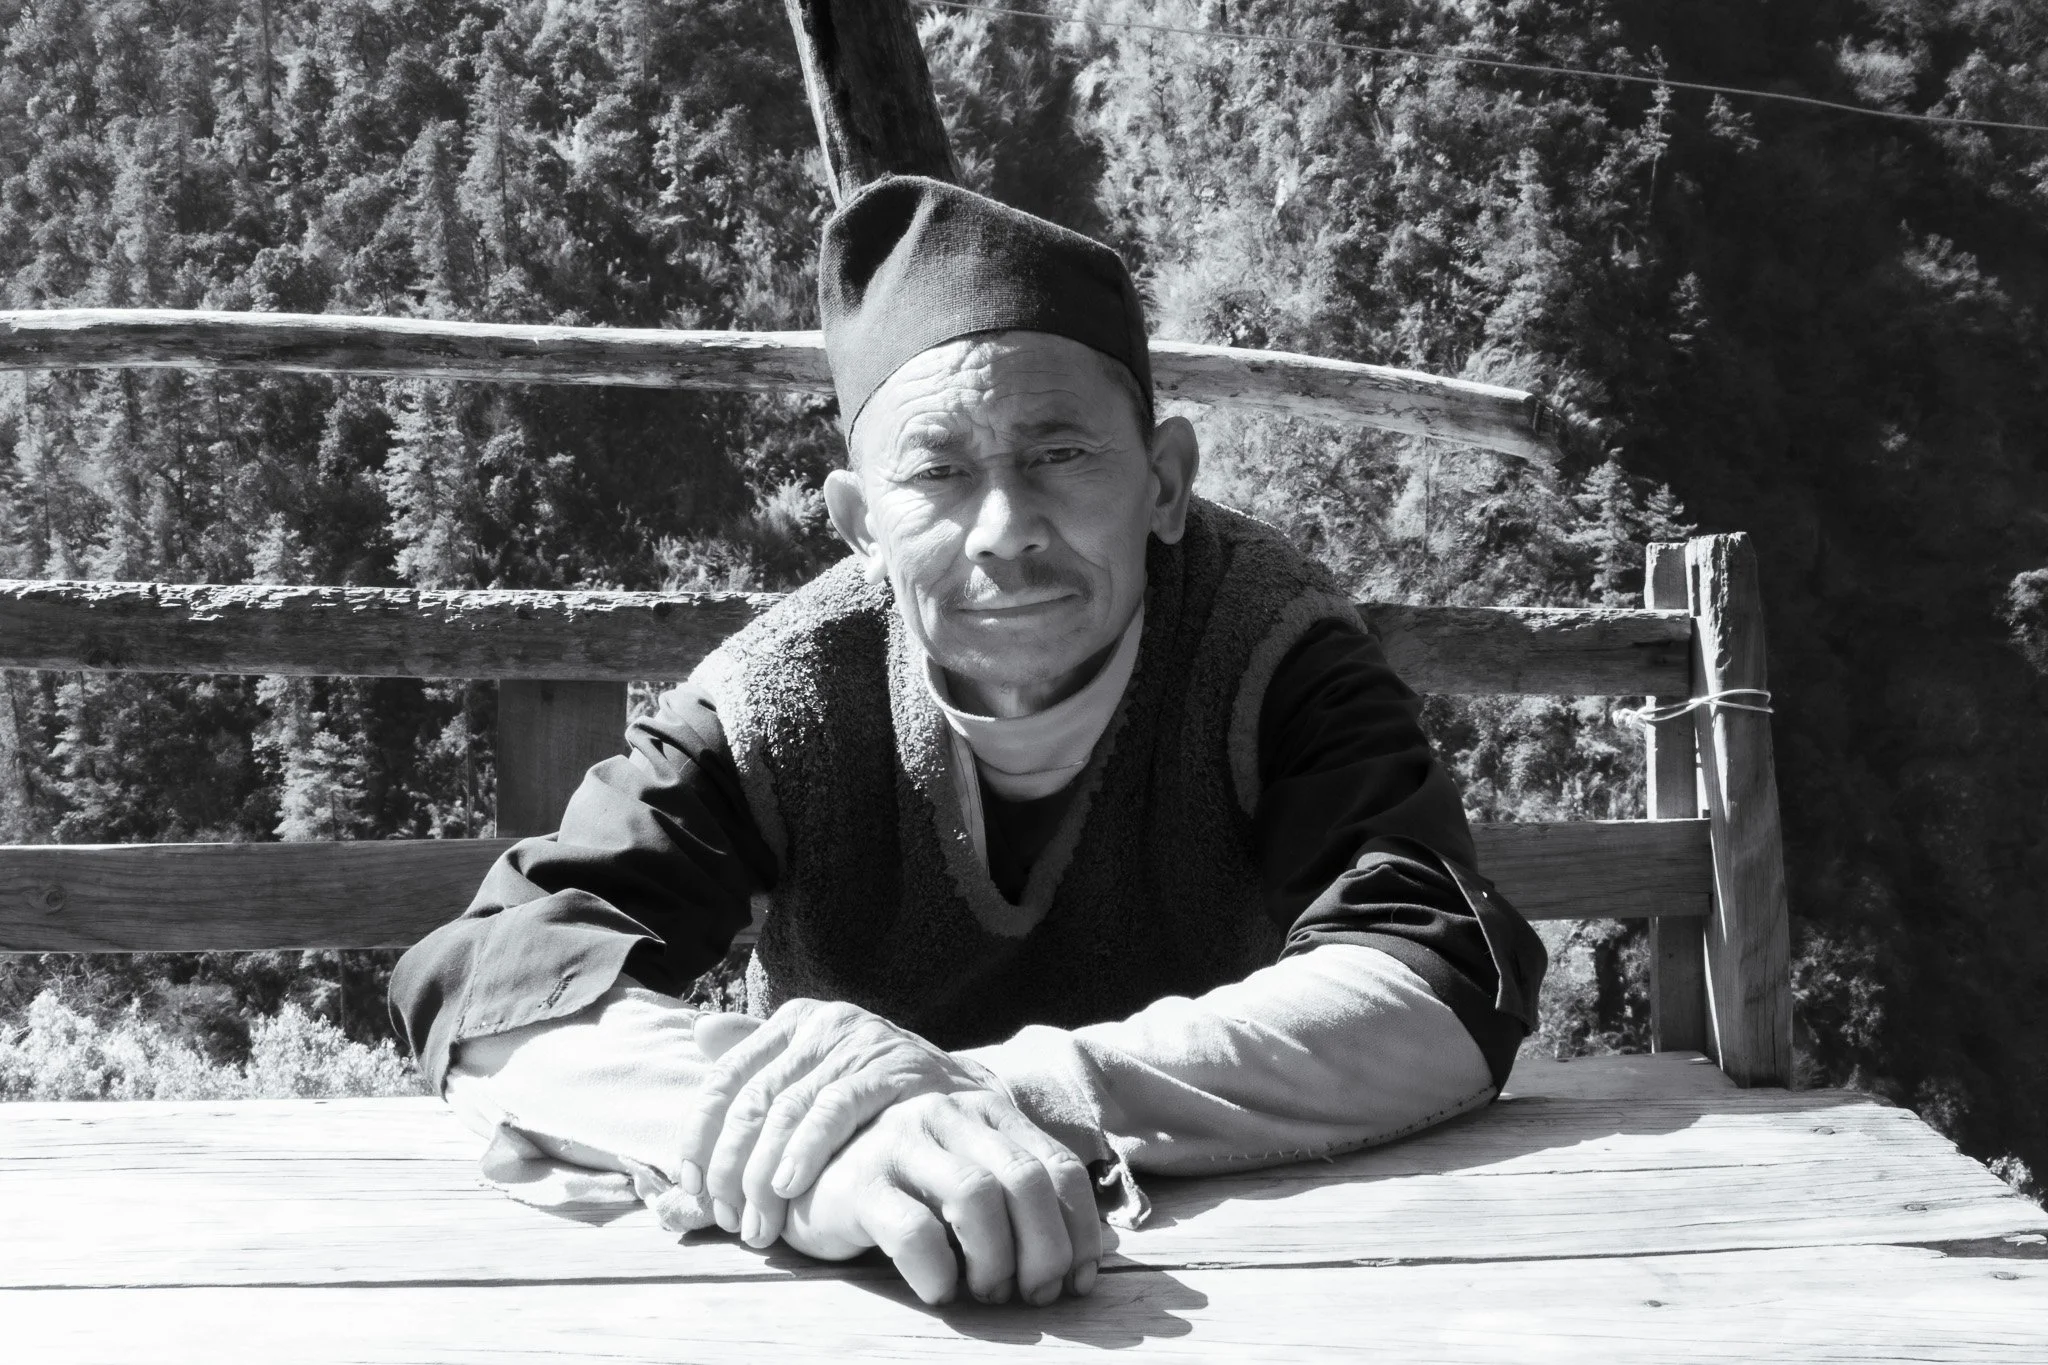
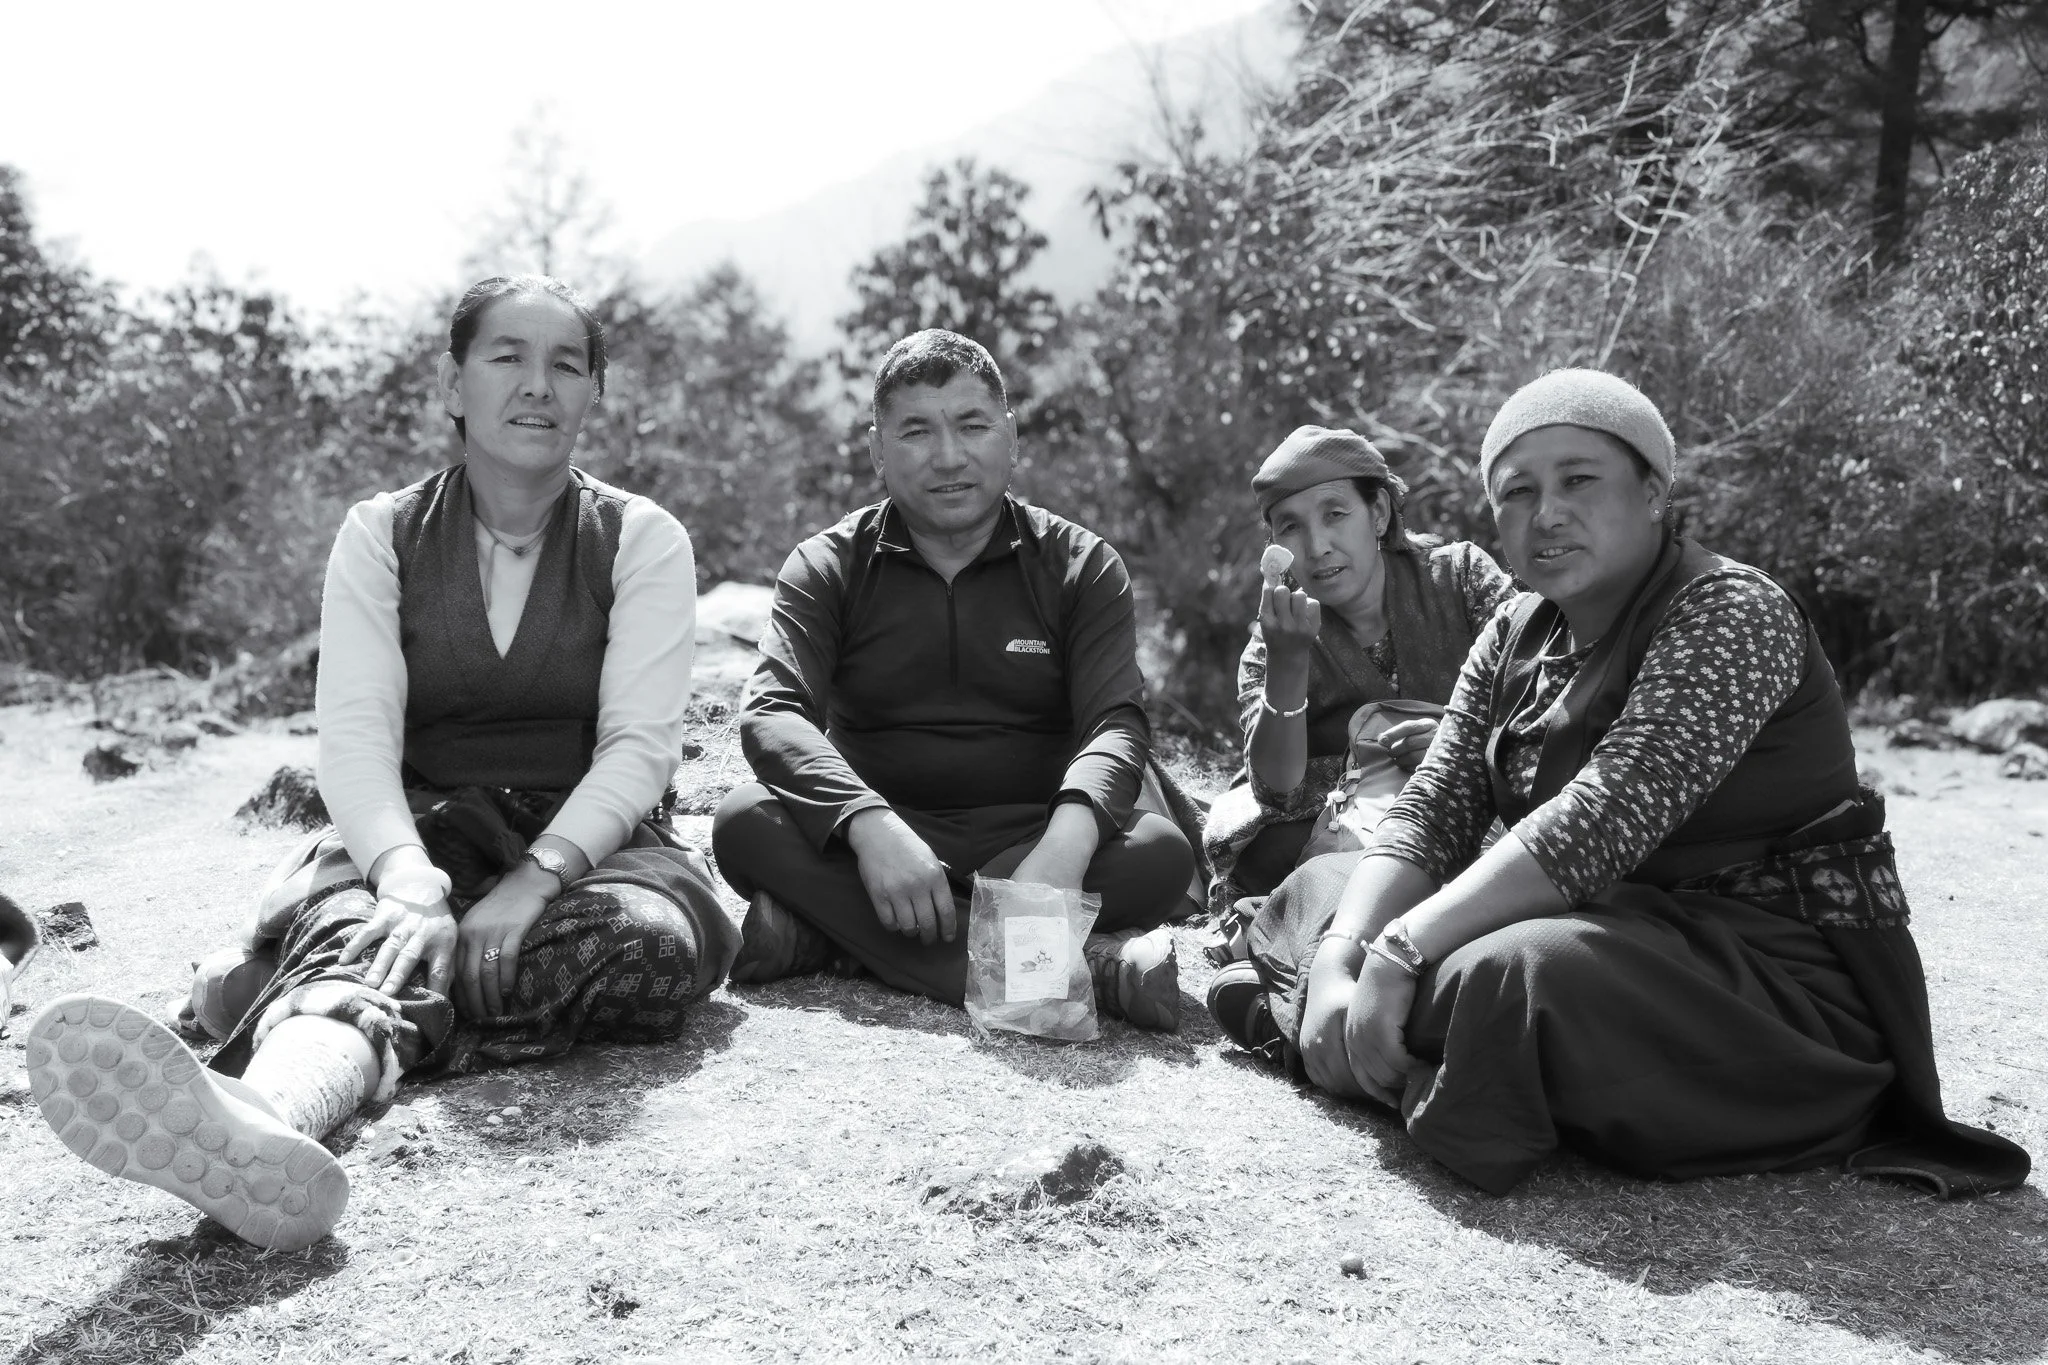
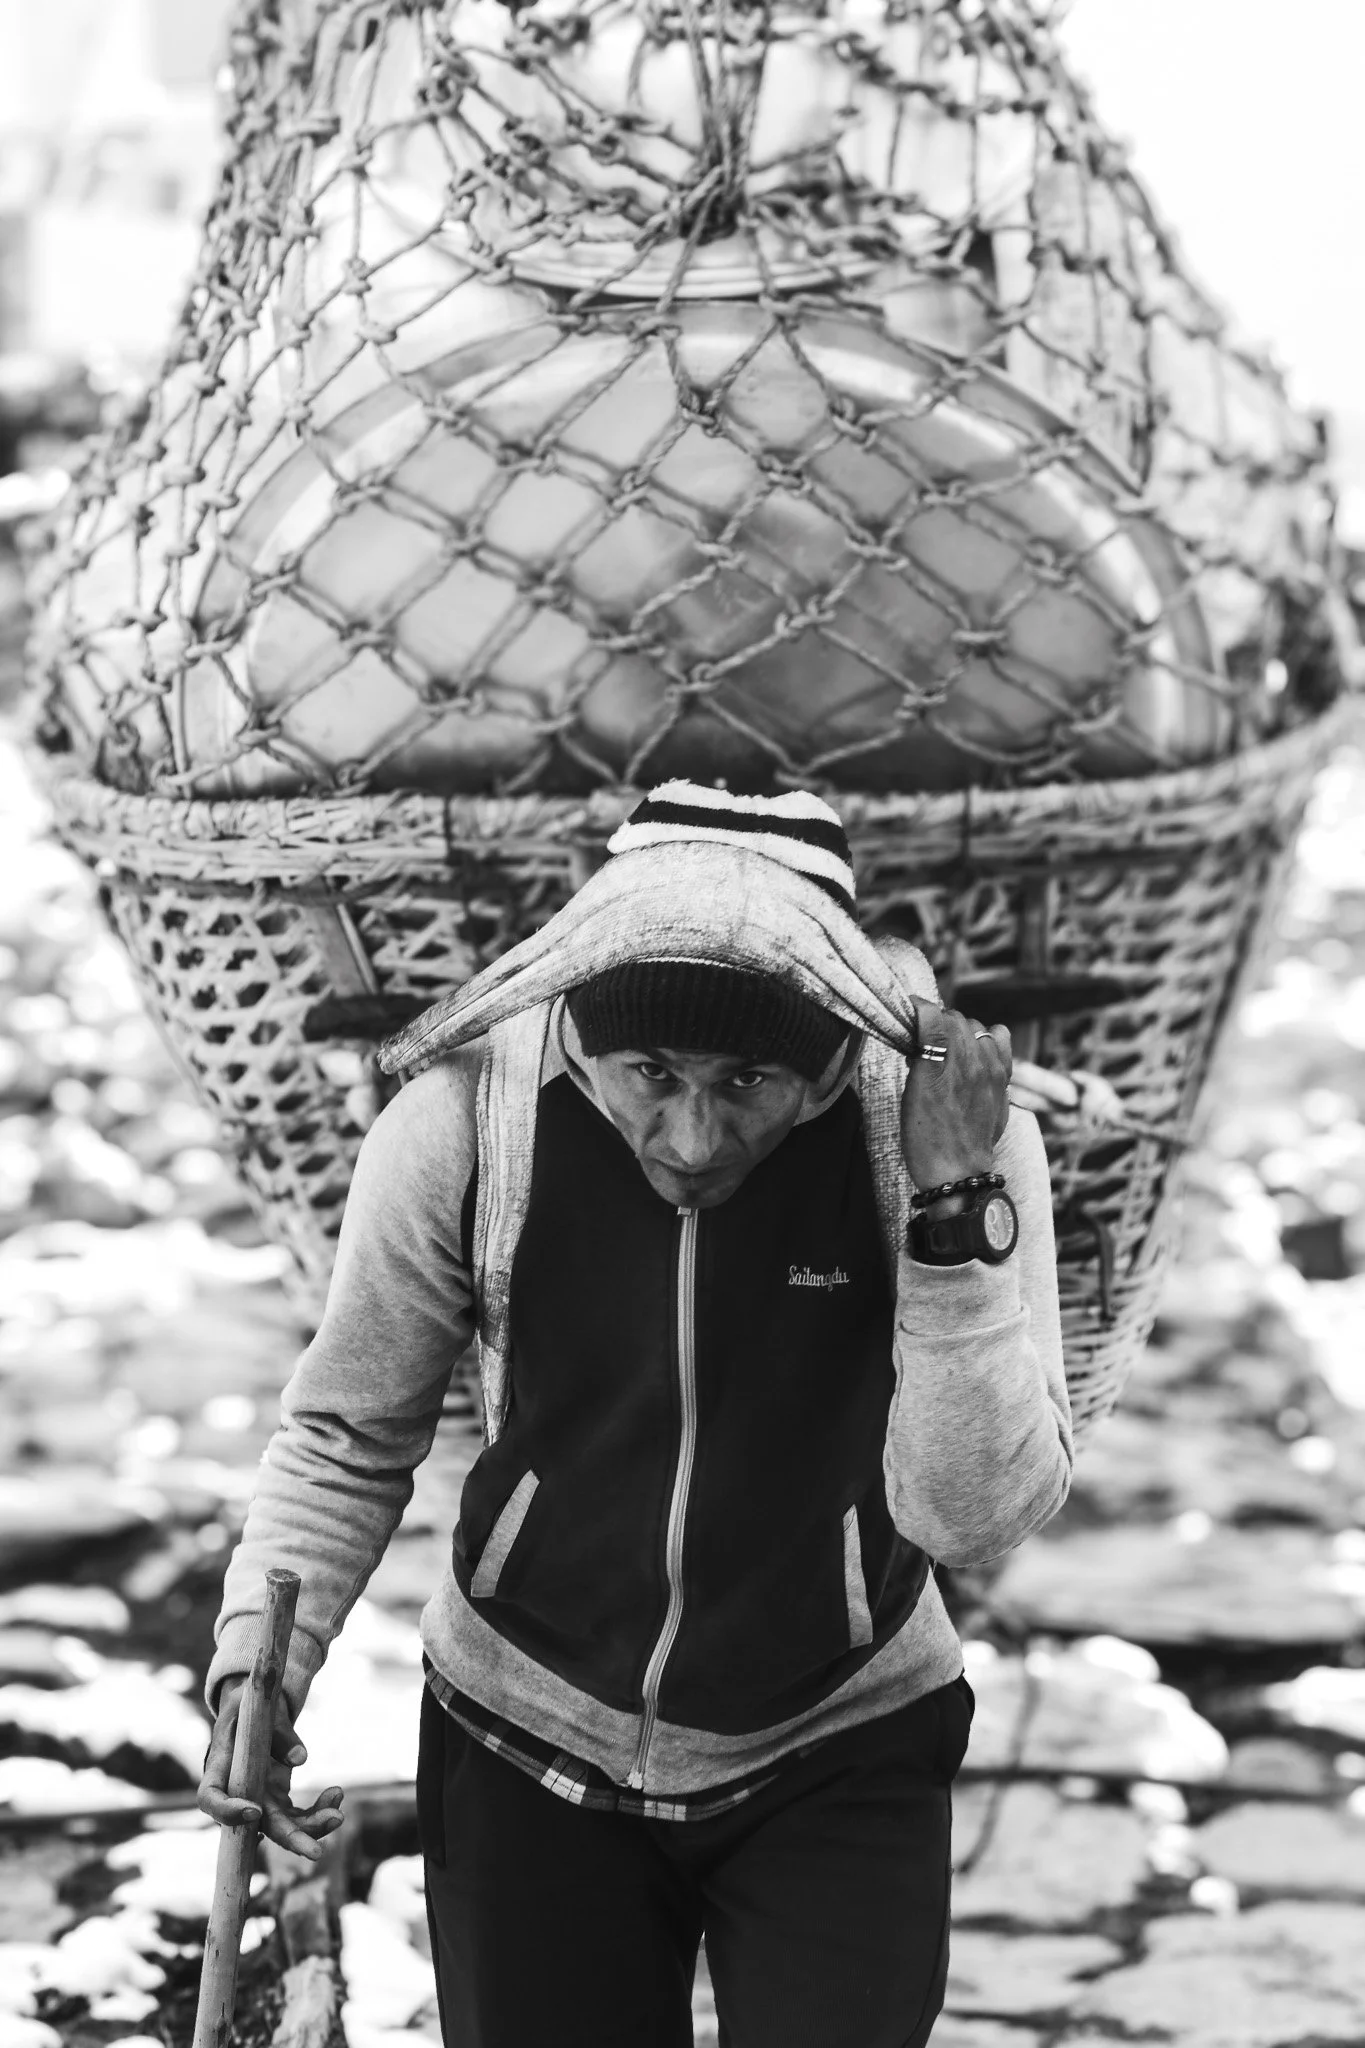
2. Focus on People and Routine
The trek isn’t just about mountains, you get good insight into Sherpa and Tamang culture here, so it’s nice to connect with locals and try and document their way of life.
Prayer rituals
Tea house life
Porters and guides
Daily interactions
These moments add depth to your work.
3. Use the Environment
Forest sections for layered compositions
Rivers for movement
Weather for mood
Fog, snow, and changing light all create different atmospheres.
4. Keep It Simple
One camera, one lens.
You don’t need more. The limitation actually helps you focus on composition and timing rather than gear.
Final Thoughts
Langtang isn’t as famous as Everest Base Camp, but that’s part of its strength. It’s quieter, more personal, and better suited to noticing the details.
If you’re deciding between treks, this is a strong option if you want a balanced experience of nature, culture, and photography, without the intensity or crowds of Everest Base Camp.
Let me know what you think of the photos, or reach out if you’re planning the trek and have questions.